Present Joys

“We thank the Lord of heaven and earth
who hath preserved us from our birth
for present joys, for blessings past,
and for the hope of heaven at last.”

Tag new stairs

14 posts from July through August 2026

In summer 2026, we completely replaced the primary staircase in our home.

Previously.

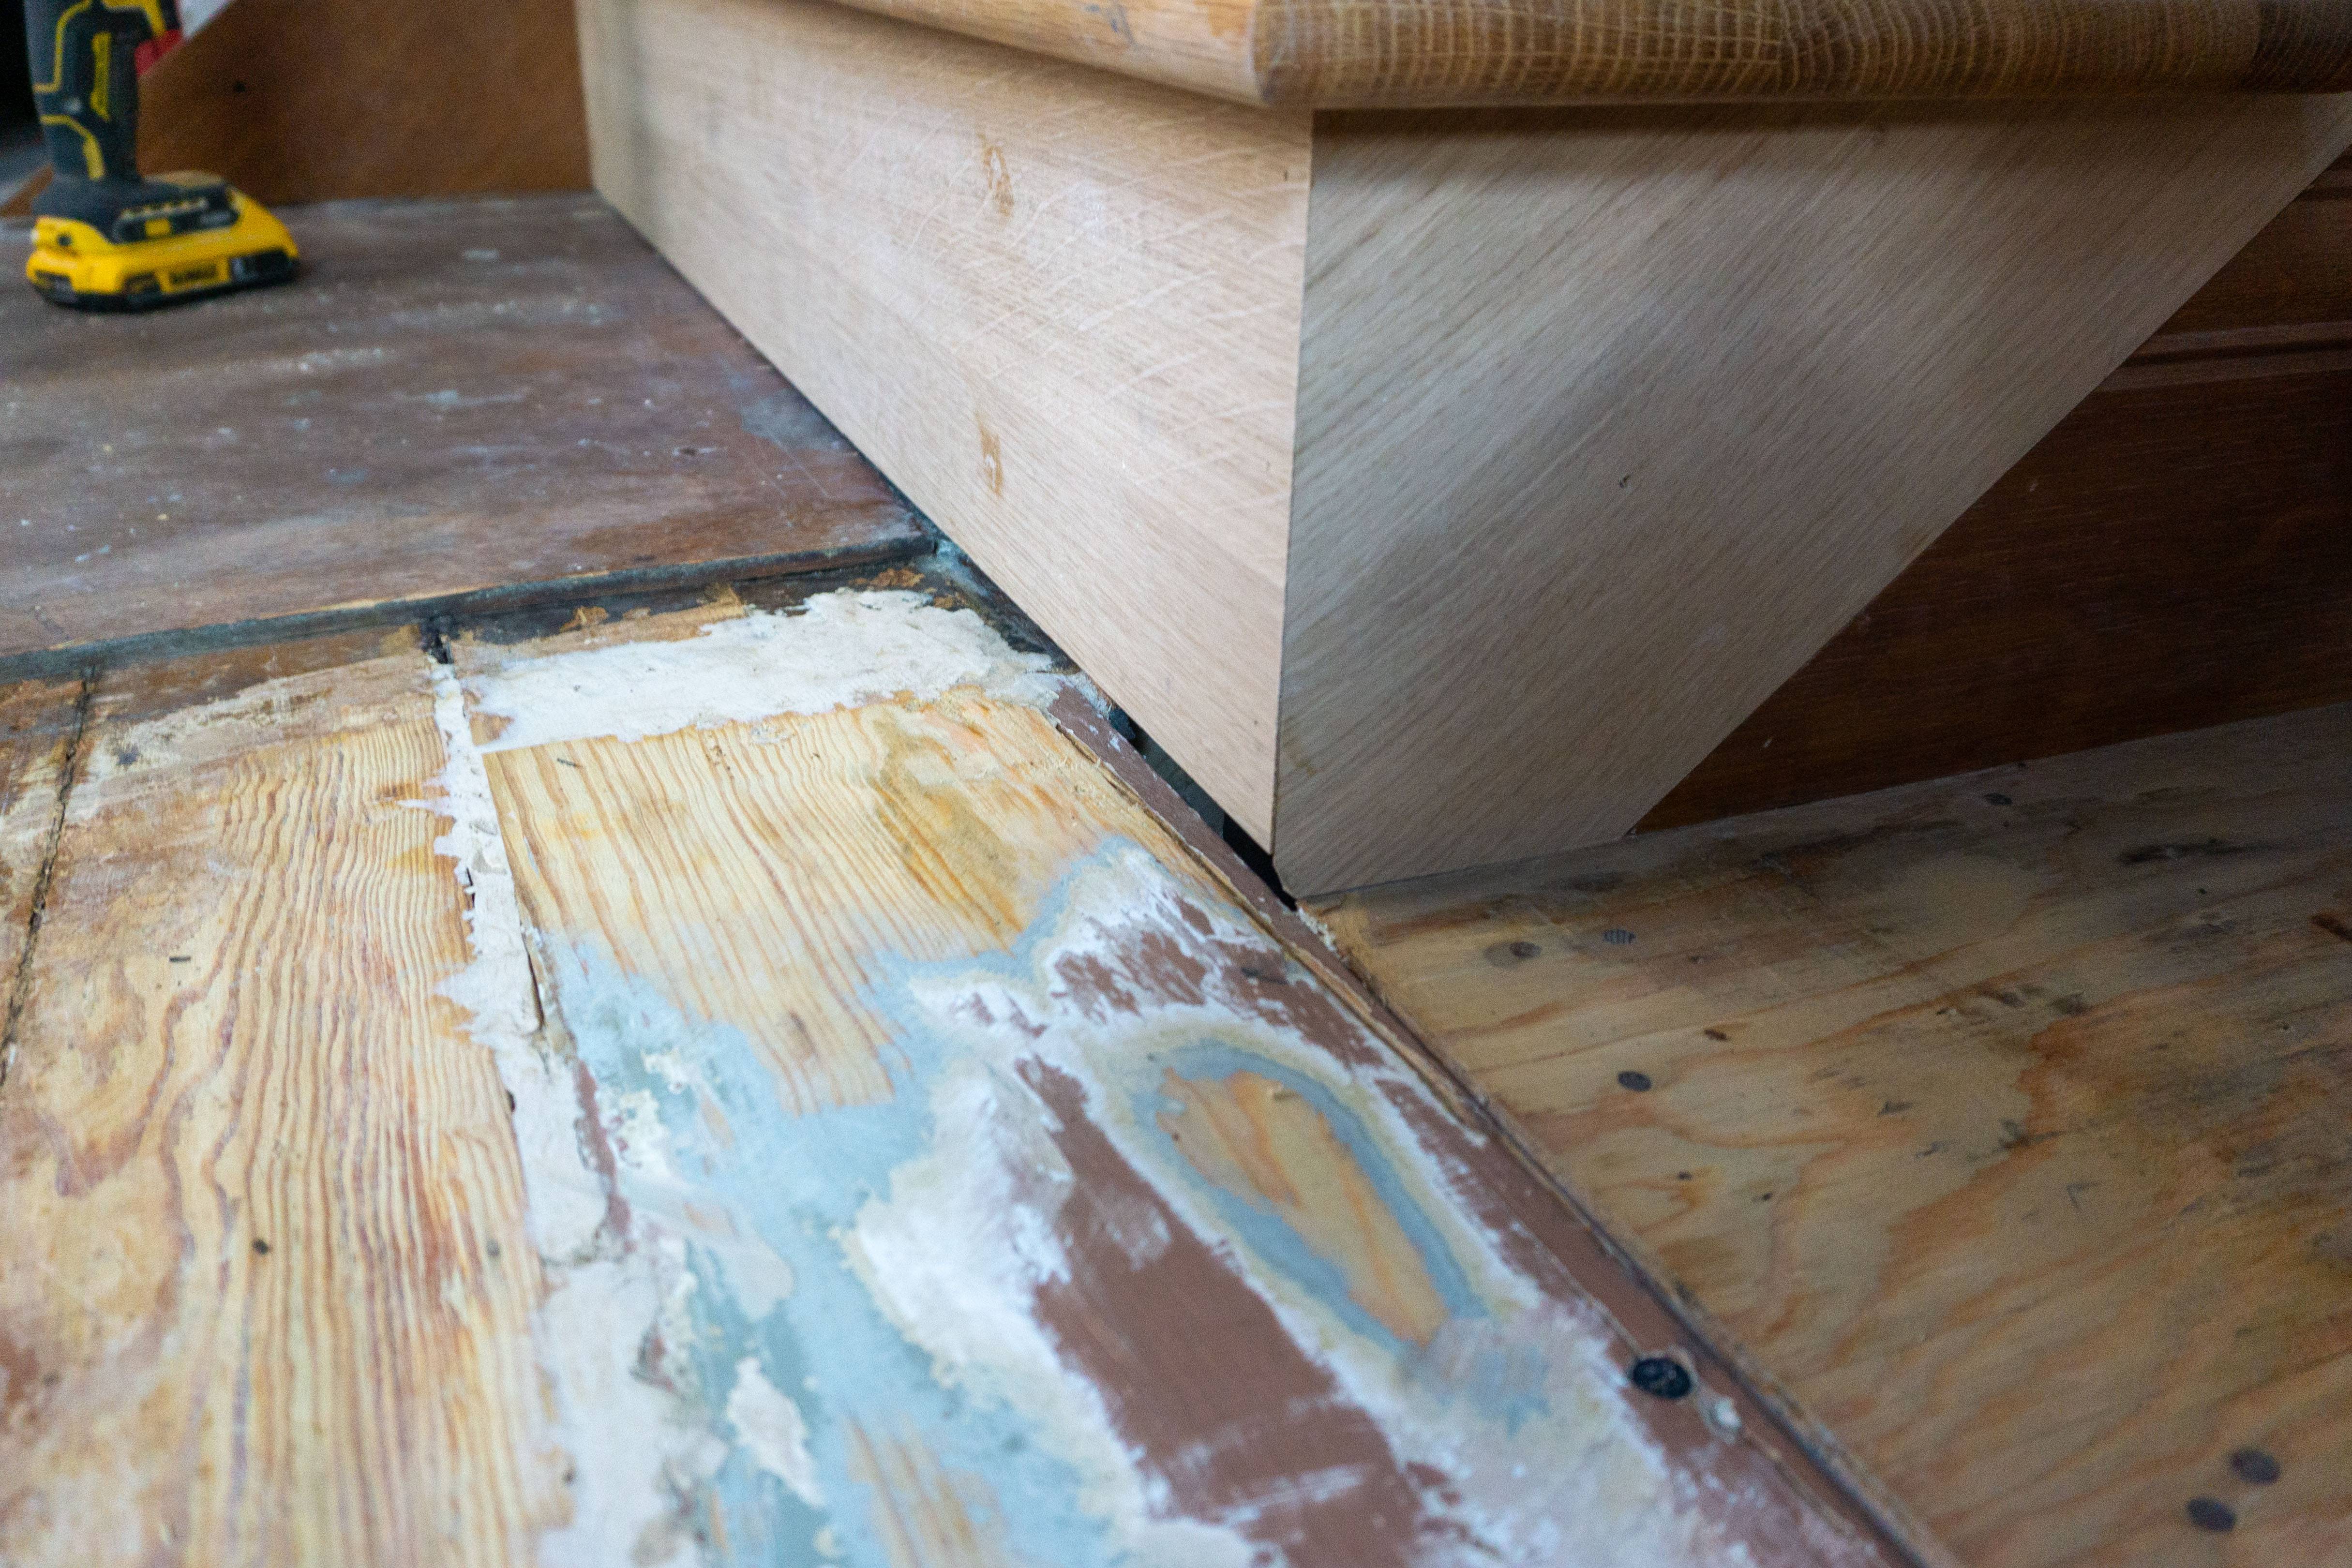
I ended up removing two heart pine floorboards where the pop-out sagged away from the house and installing a 6″ wide plank in place to span the gap between house and pop-out. It’s impossible to know how it will hold up as the seasons change, but I’m confident that Bonebrake has already done the vast majority of its settling, so I’m optimistic the new board will go the distance (no pun intended). It took some belt sanding and a bit of epoxy, but I managed to get the whole area suitably flat. Of course, the pop-out still noticeably slopes away from the rest of the house, but stuff like that is what owning an old house is all about.

I pulled all the nails out of the salvaged oak floor boards and lightly sanded the backs to remove splinters.
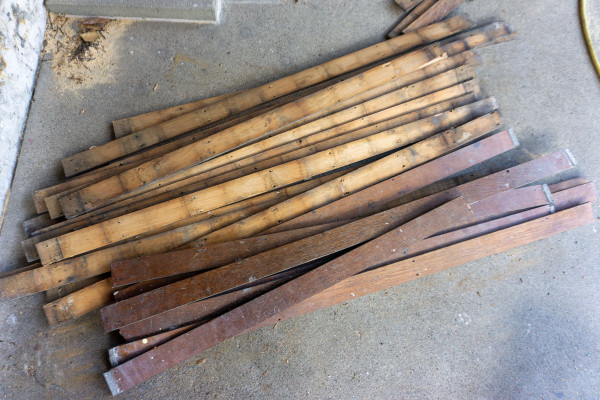
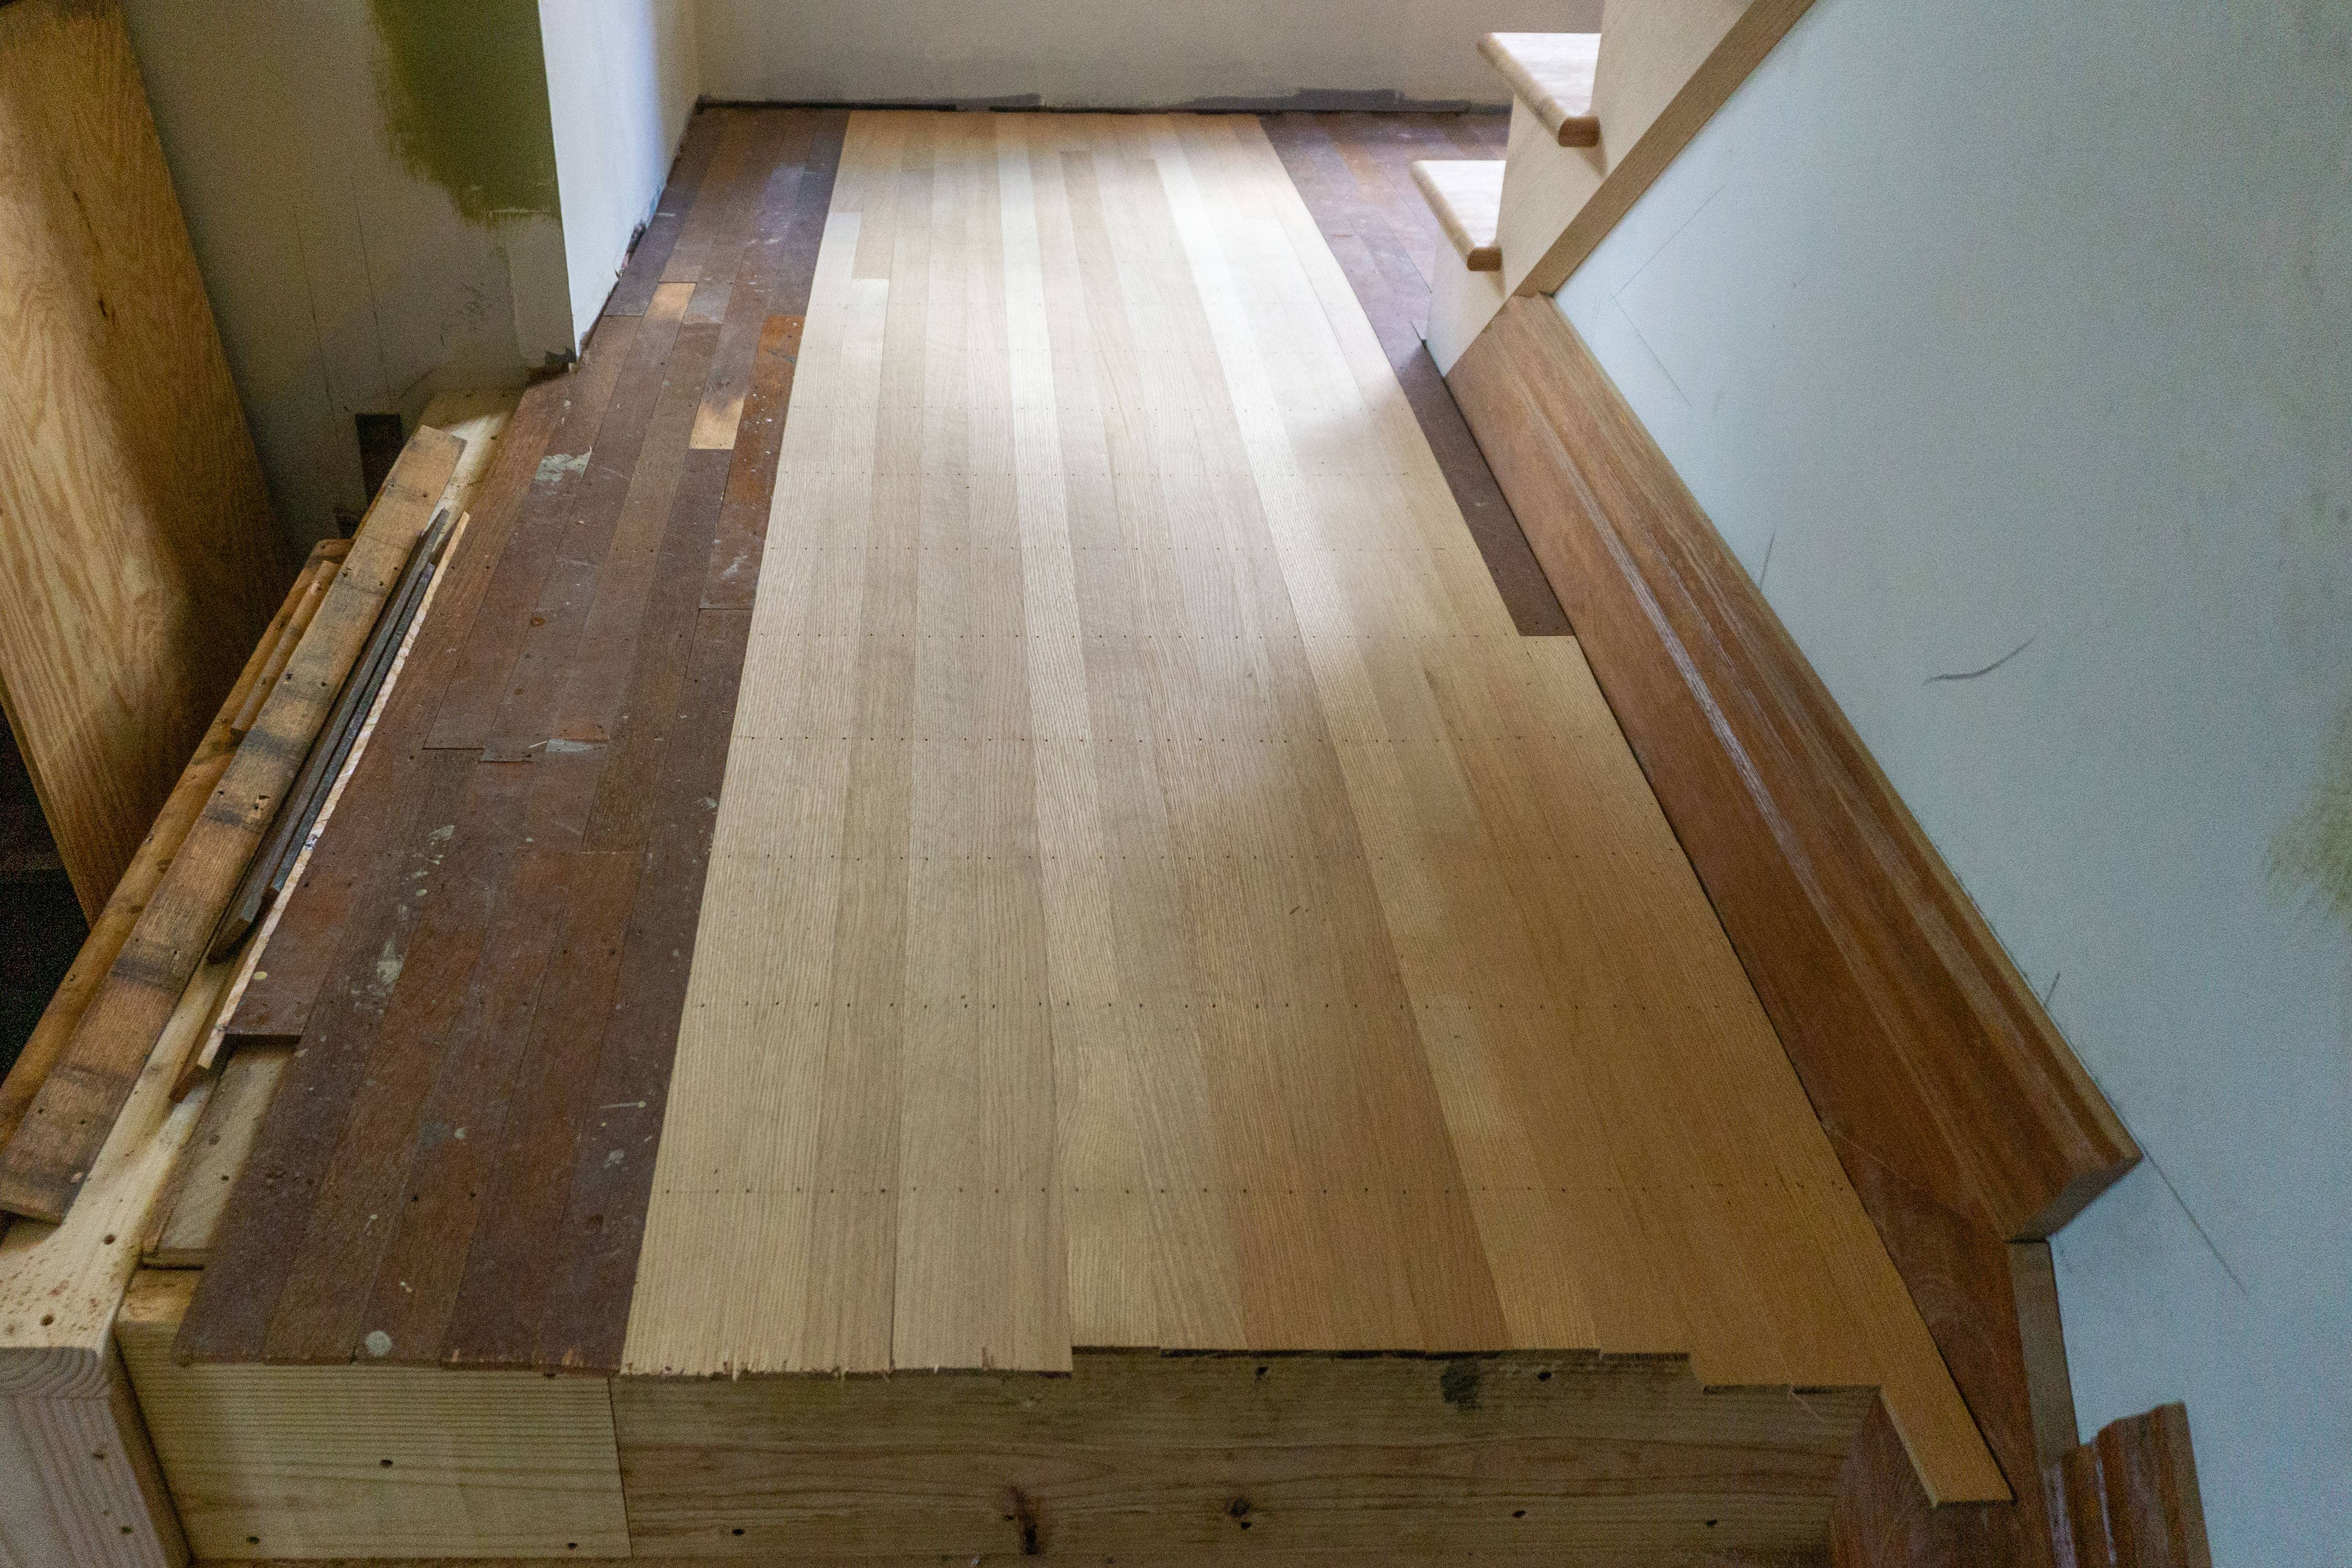
Then it was just a matter of installing the oak flooring back in. Since this is S4S—no tongue and groove to worry about—it’s deceptively easy. Just squeeze everything together as tightly as possible, ensure it’s sitting in a straight line, and nail it down. Every board is nailed down twice every six inches. I went through an unconscionable amount of 18-gauge brads with my pneumatic nailer. I can’t imagine how time-consuming it was to set each nail by hand when these boards were first installed over a hundred years ago.
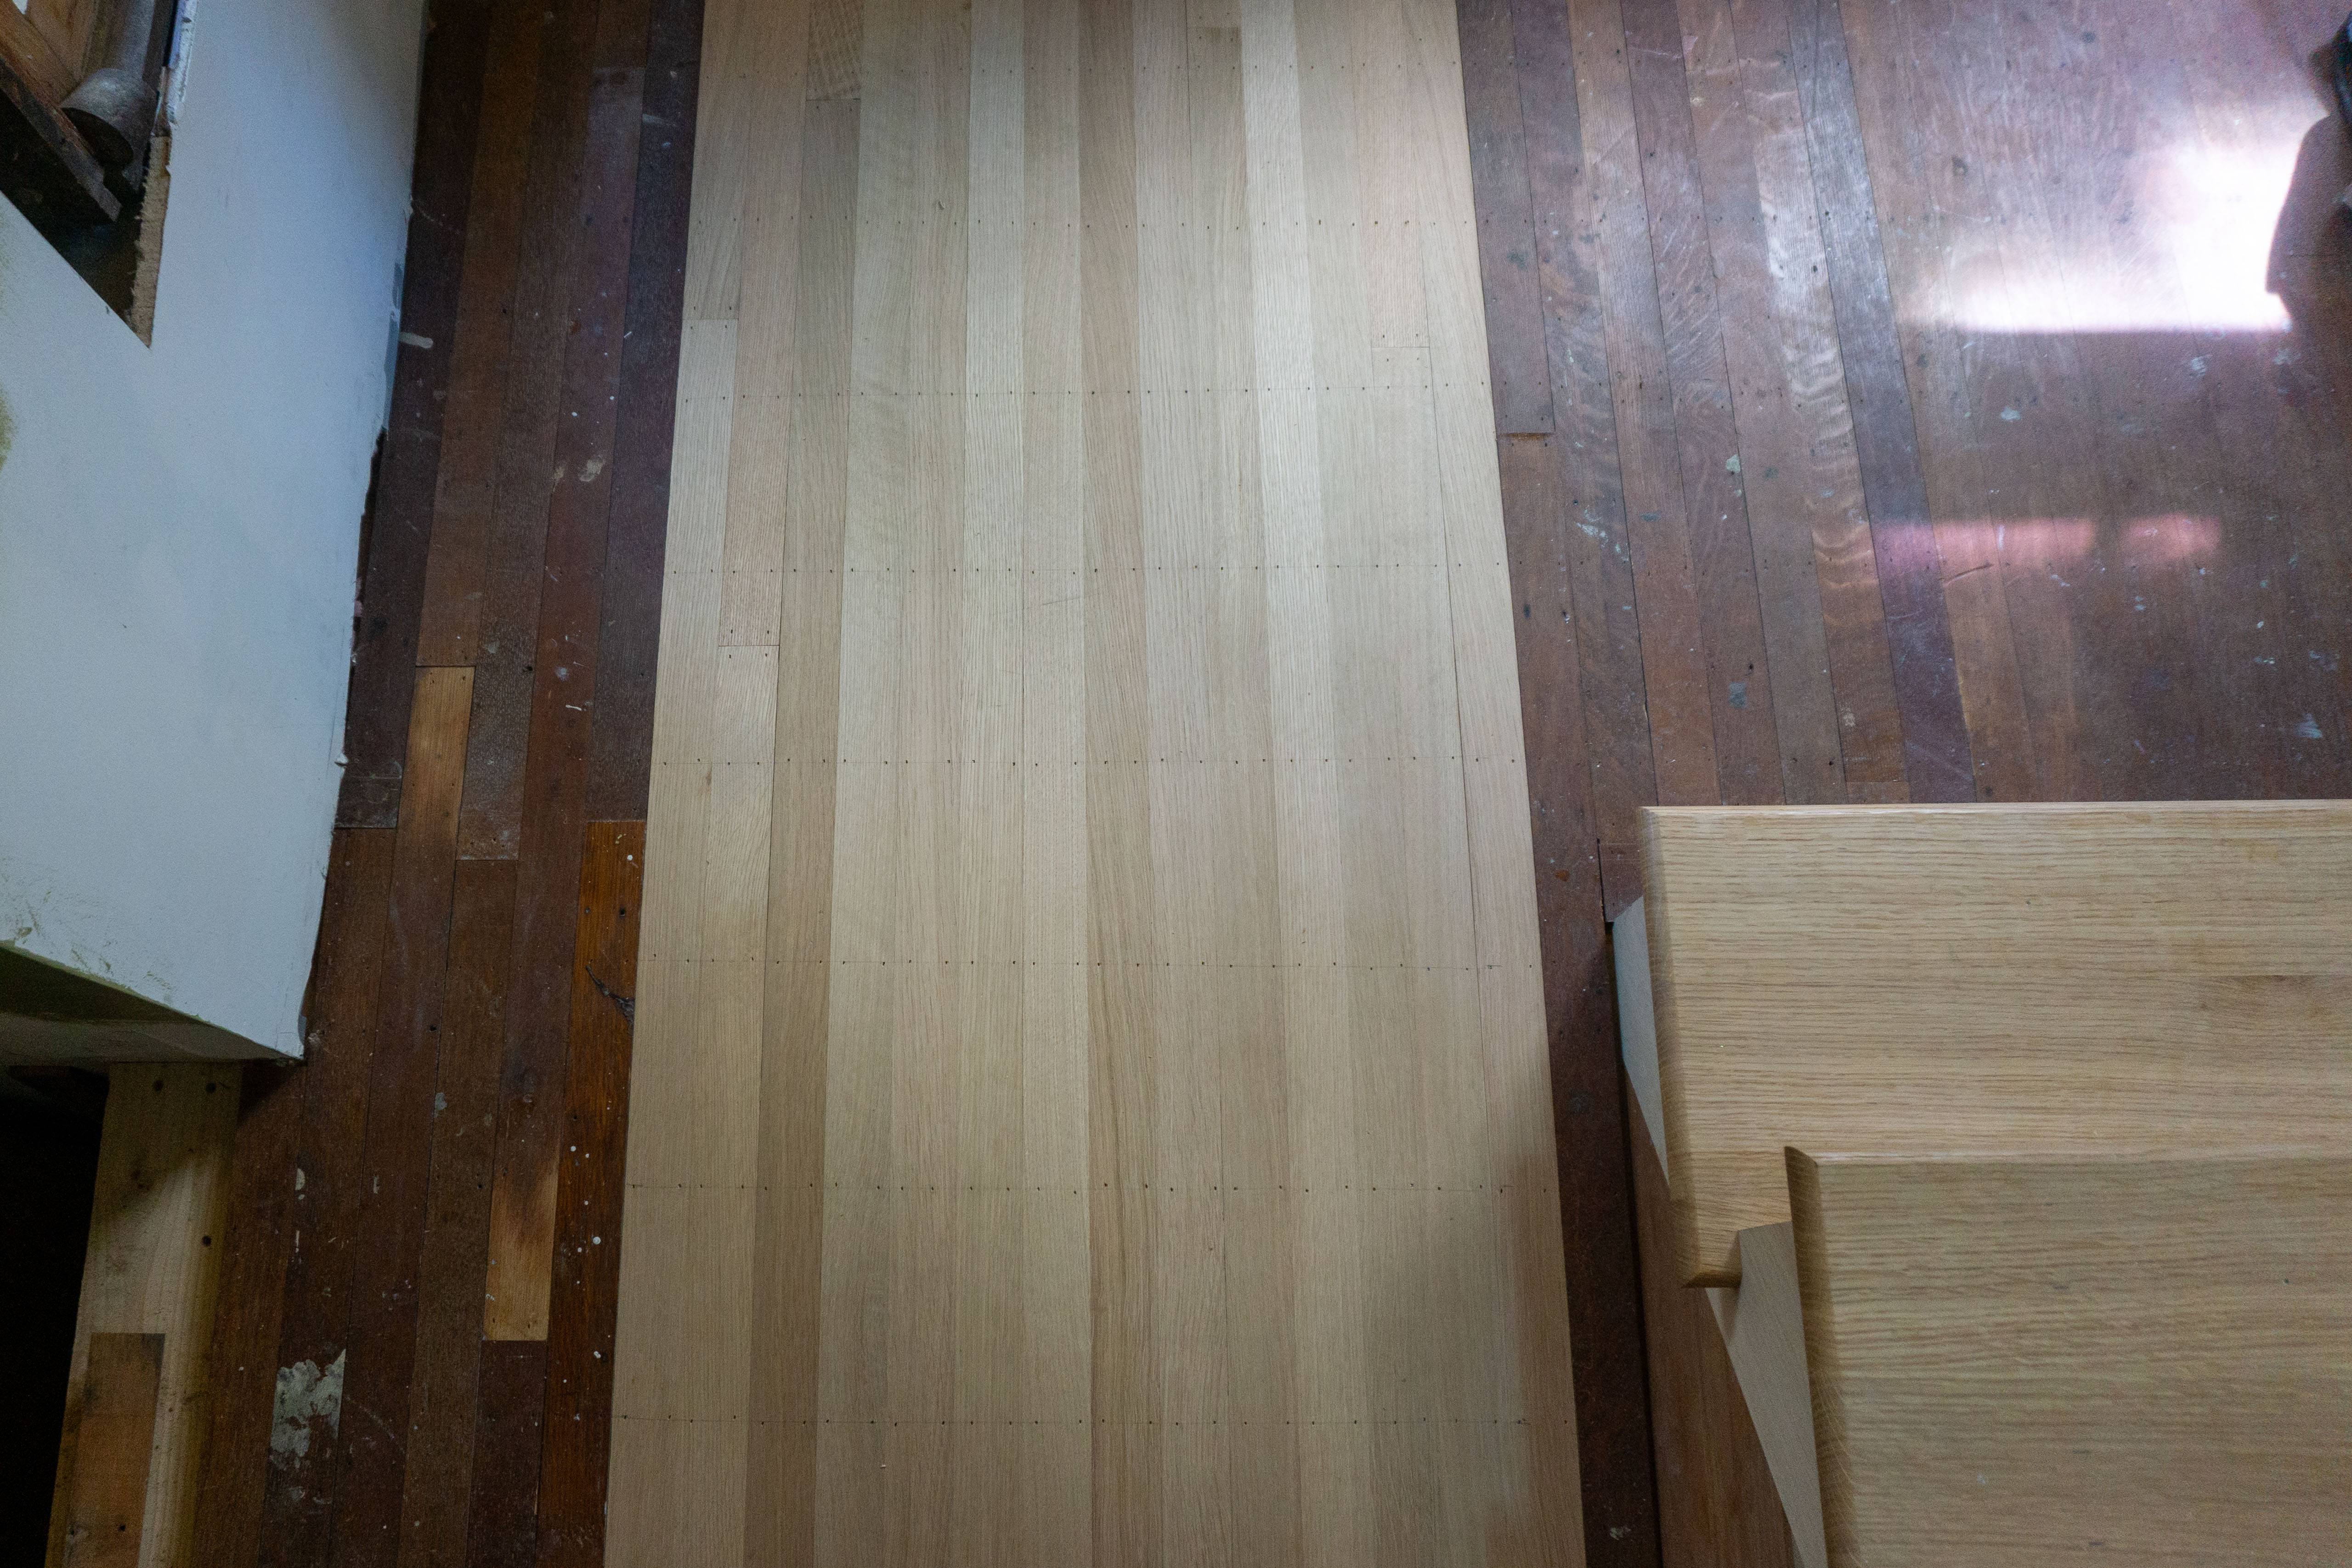
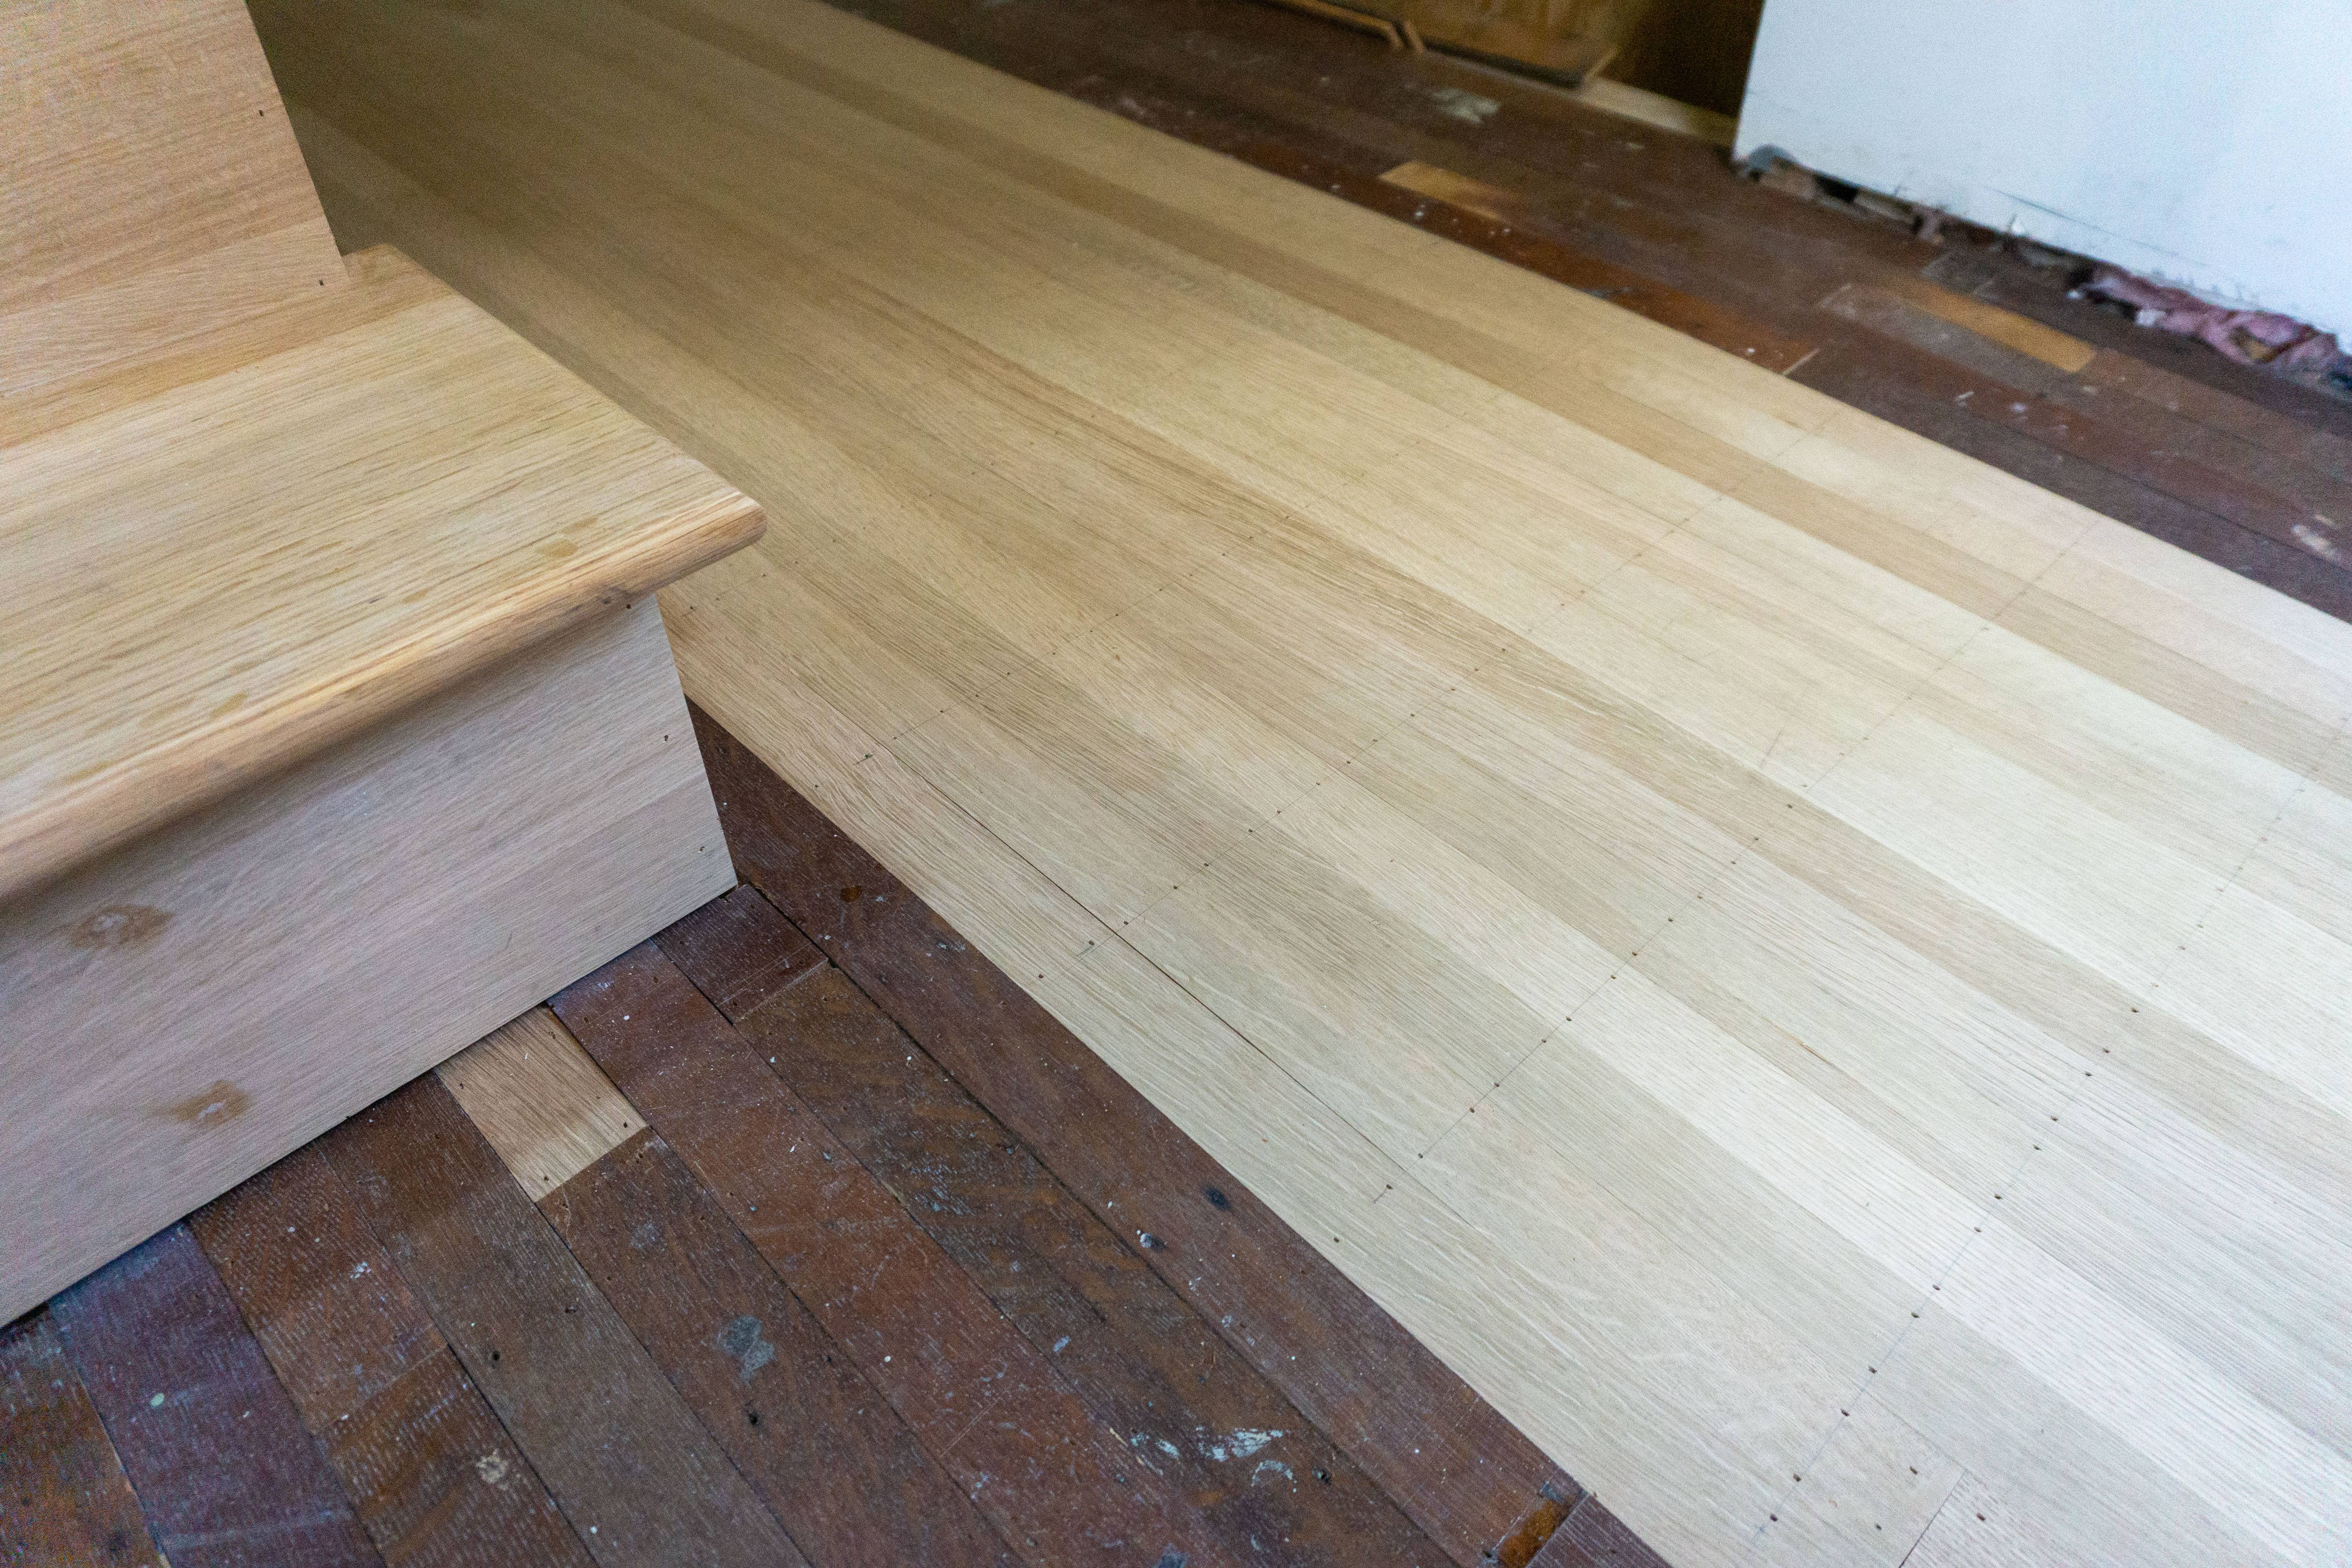
I’m proud to say I re-used virtually everything I salvaged. I filled in with new quarter-sawn white oak S4S boards I ordered from Hiland. As you might expect, it was much easier to work with the long, straight, and consistently sized modern boards—and tempting to give up re-using the old ones. I did end up using new boards for the main long area of platform floor, but worked in the remaining salvaged boards on either side. Keeping the old boards and new boards segregated like this should make it easier to color them to match, should that end up being necessary once everything is sanded.

I’ll have to put a couple more boards in once Jordan finishes up his framing, but besides that, all that’s left now is to sand everything down smooth and finish it. I’ll wait for that until the very end of this project.
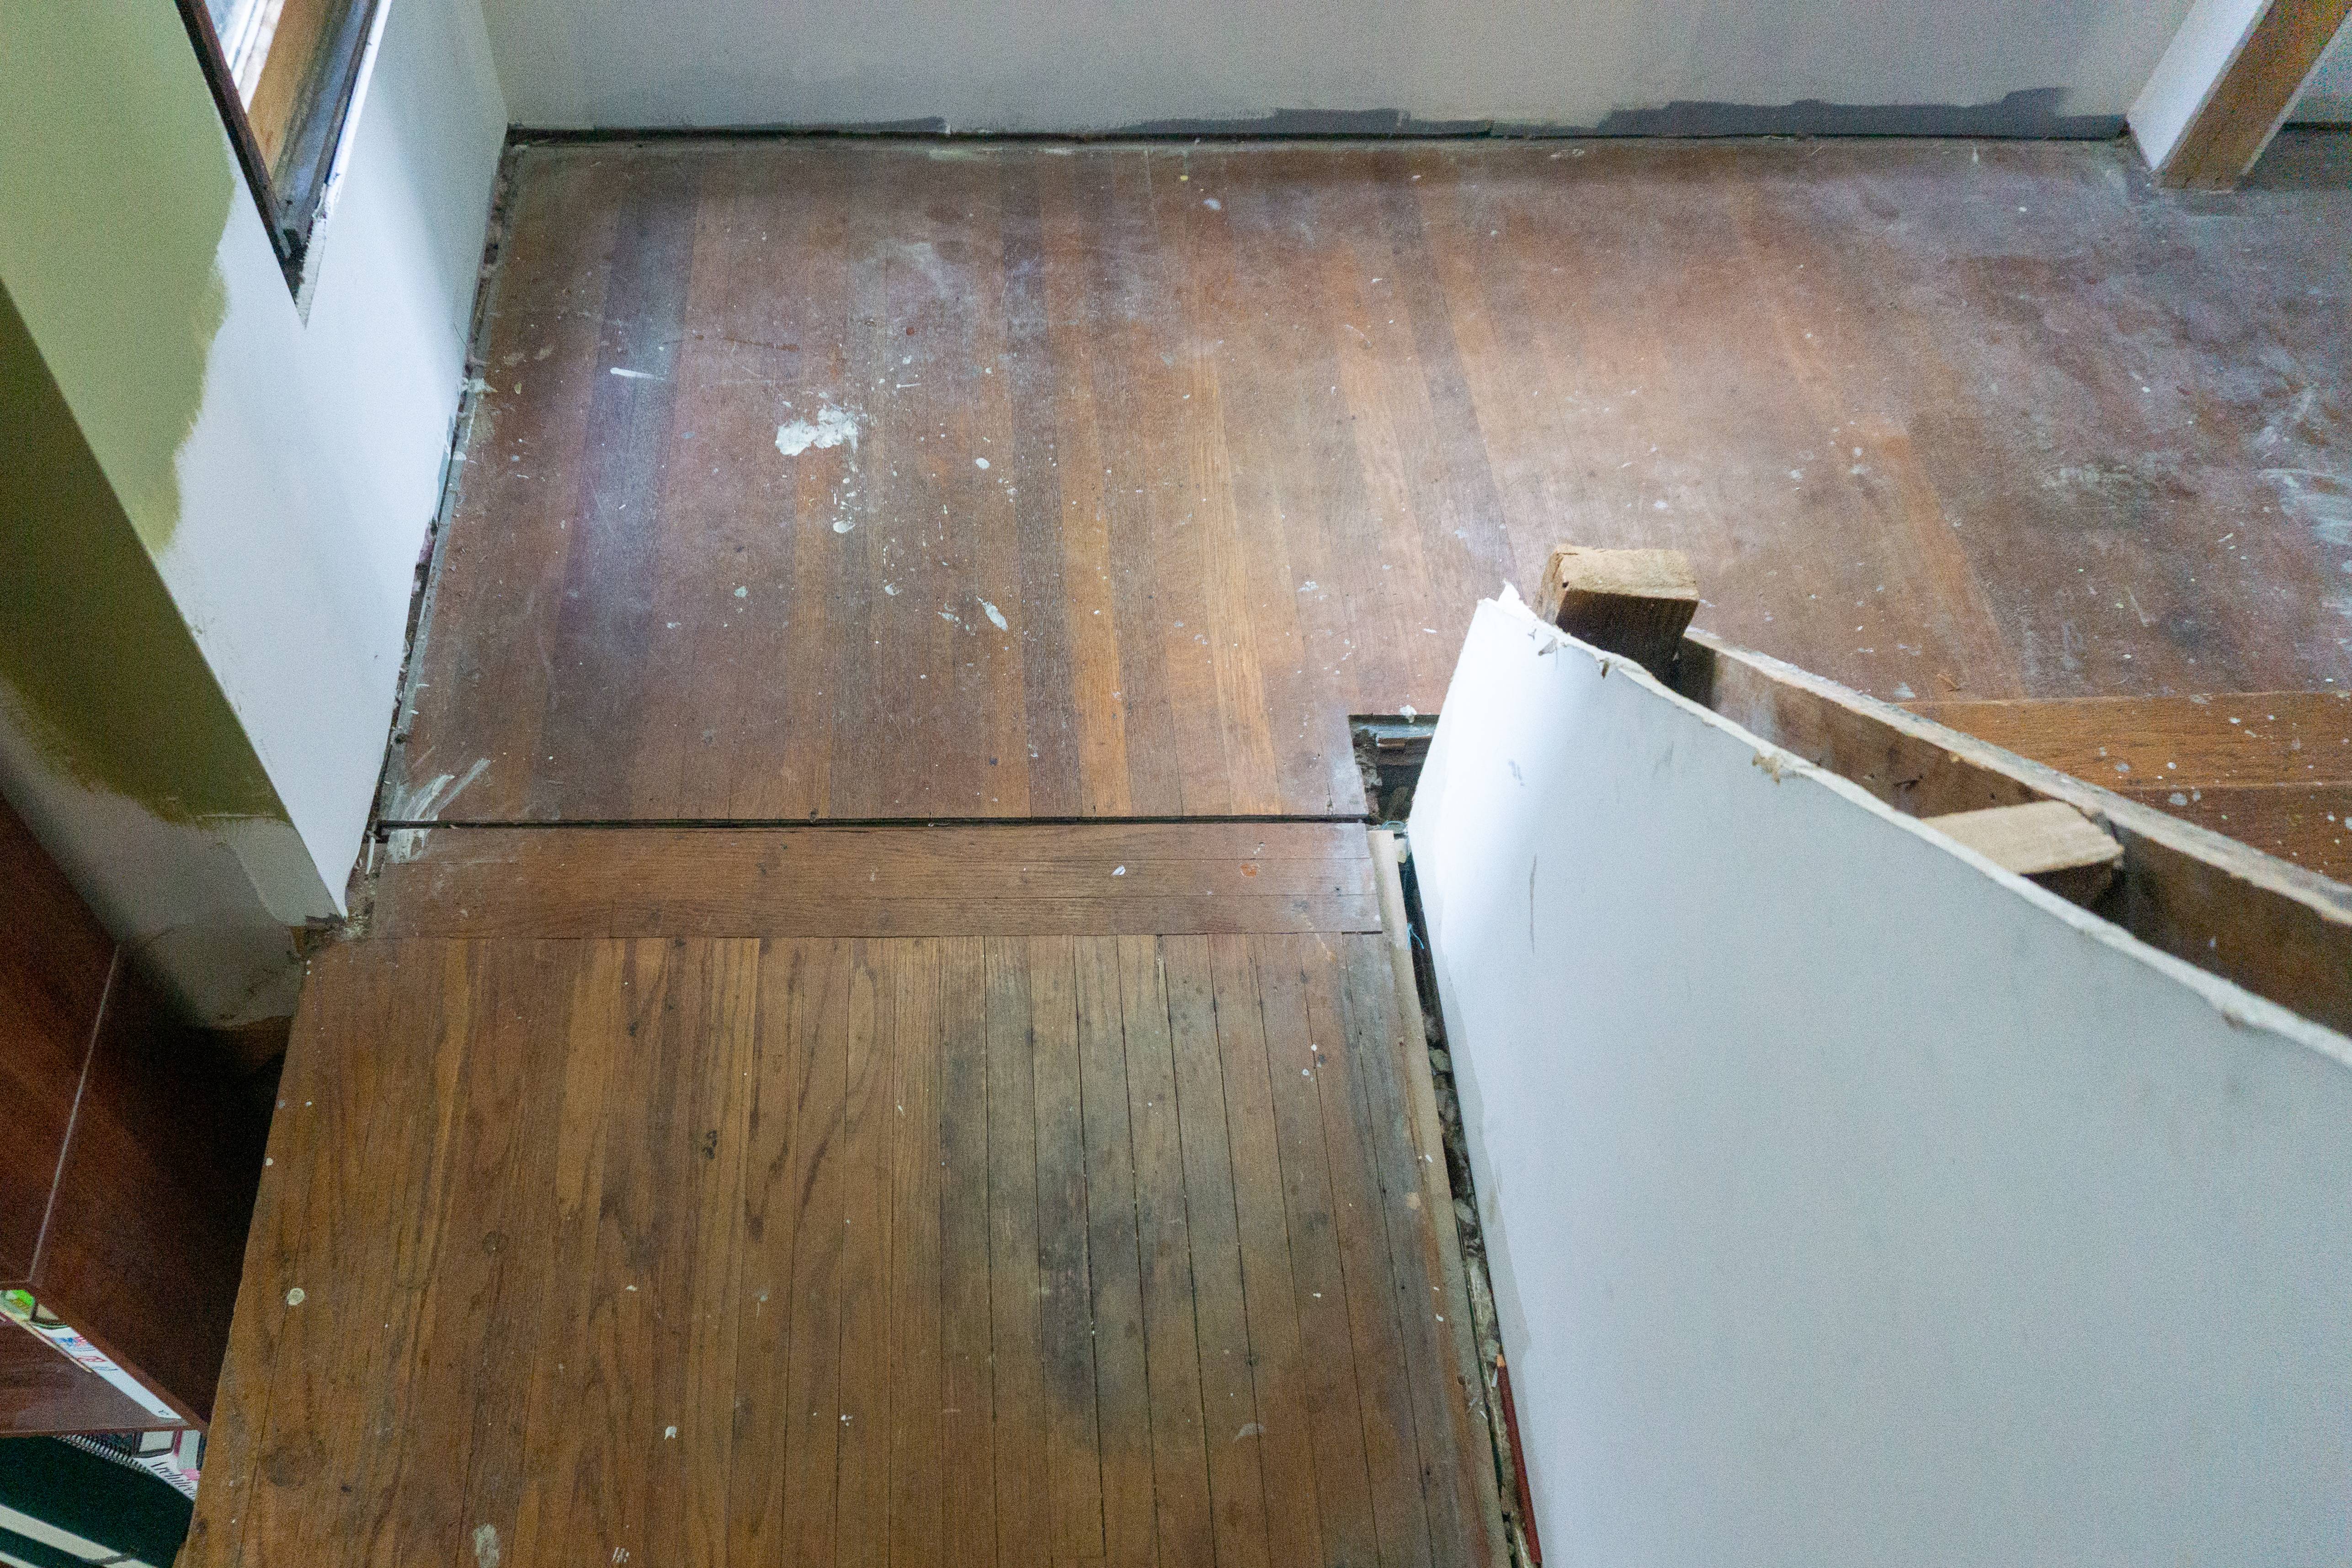
Our primary staircase consists of a few steps up to a platform or landing, part of which is cantilevered out over the main building’s foundation. We usually call this the “pop-out”, though I’m sure there are many other architectural terms for it. The pop-out provides the necessary space to turn 180 degrees before ascending the longer run of steps. In other words, the a roughly 3′ × 4′ section of this platform is inside the foyer, and another 9′ × 3′ section, which includes a small coat closet, is in the cantilevered pop-out.

The house has been through so many transformations over the years, and the floor tells the story. The pop-out floor, which has settled significantly and now slopes away from the rest of the room, is the beautiful face-nailed quarter sawn white oak in many of the other principal rooms at Bonebrake (inexplicably 1-49/64″ wide and installed circa 1910). Beneath this face-nailed strip is what was both the house’s original subfloor and finished floor: 3/4″ tongue-and-groove heart pine, installed directly across the floor joists.

The 3′ × 4′ part of the platform, inside the foyer, framed in the 1980s, had a plywood subfloor and more recent 1-1/2″-wide plain-sawn tongue-and-groove oak strip, certainly also dating to the 1980s but showing its age much more than the century-old q/s flooring adjacent to it. Although this was all supposed to be one platform and one consistent floor surface, structural and historical differences between these sections caused it to look really junky and odd. Unmatched flooring materials required a few strips of perpendicular boards to “disguise” the seam. Here’s what it looked like before I tore out the 1980s strip a few weeks ago:

It’s been my goal to unify the flooring if possible, so yesterday I started carefully removing the exposed q/s boards. Believe it or not, it worked better than I expected! Over 90% of what I removed should be salvageable and reusable.

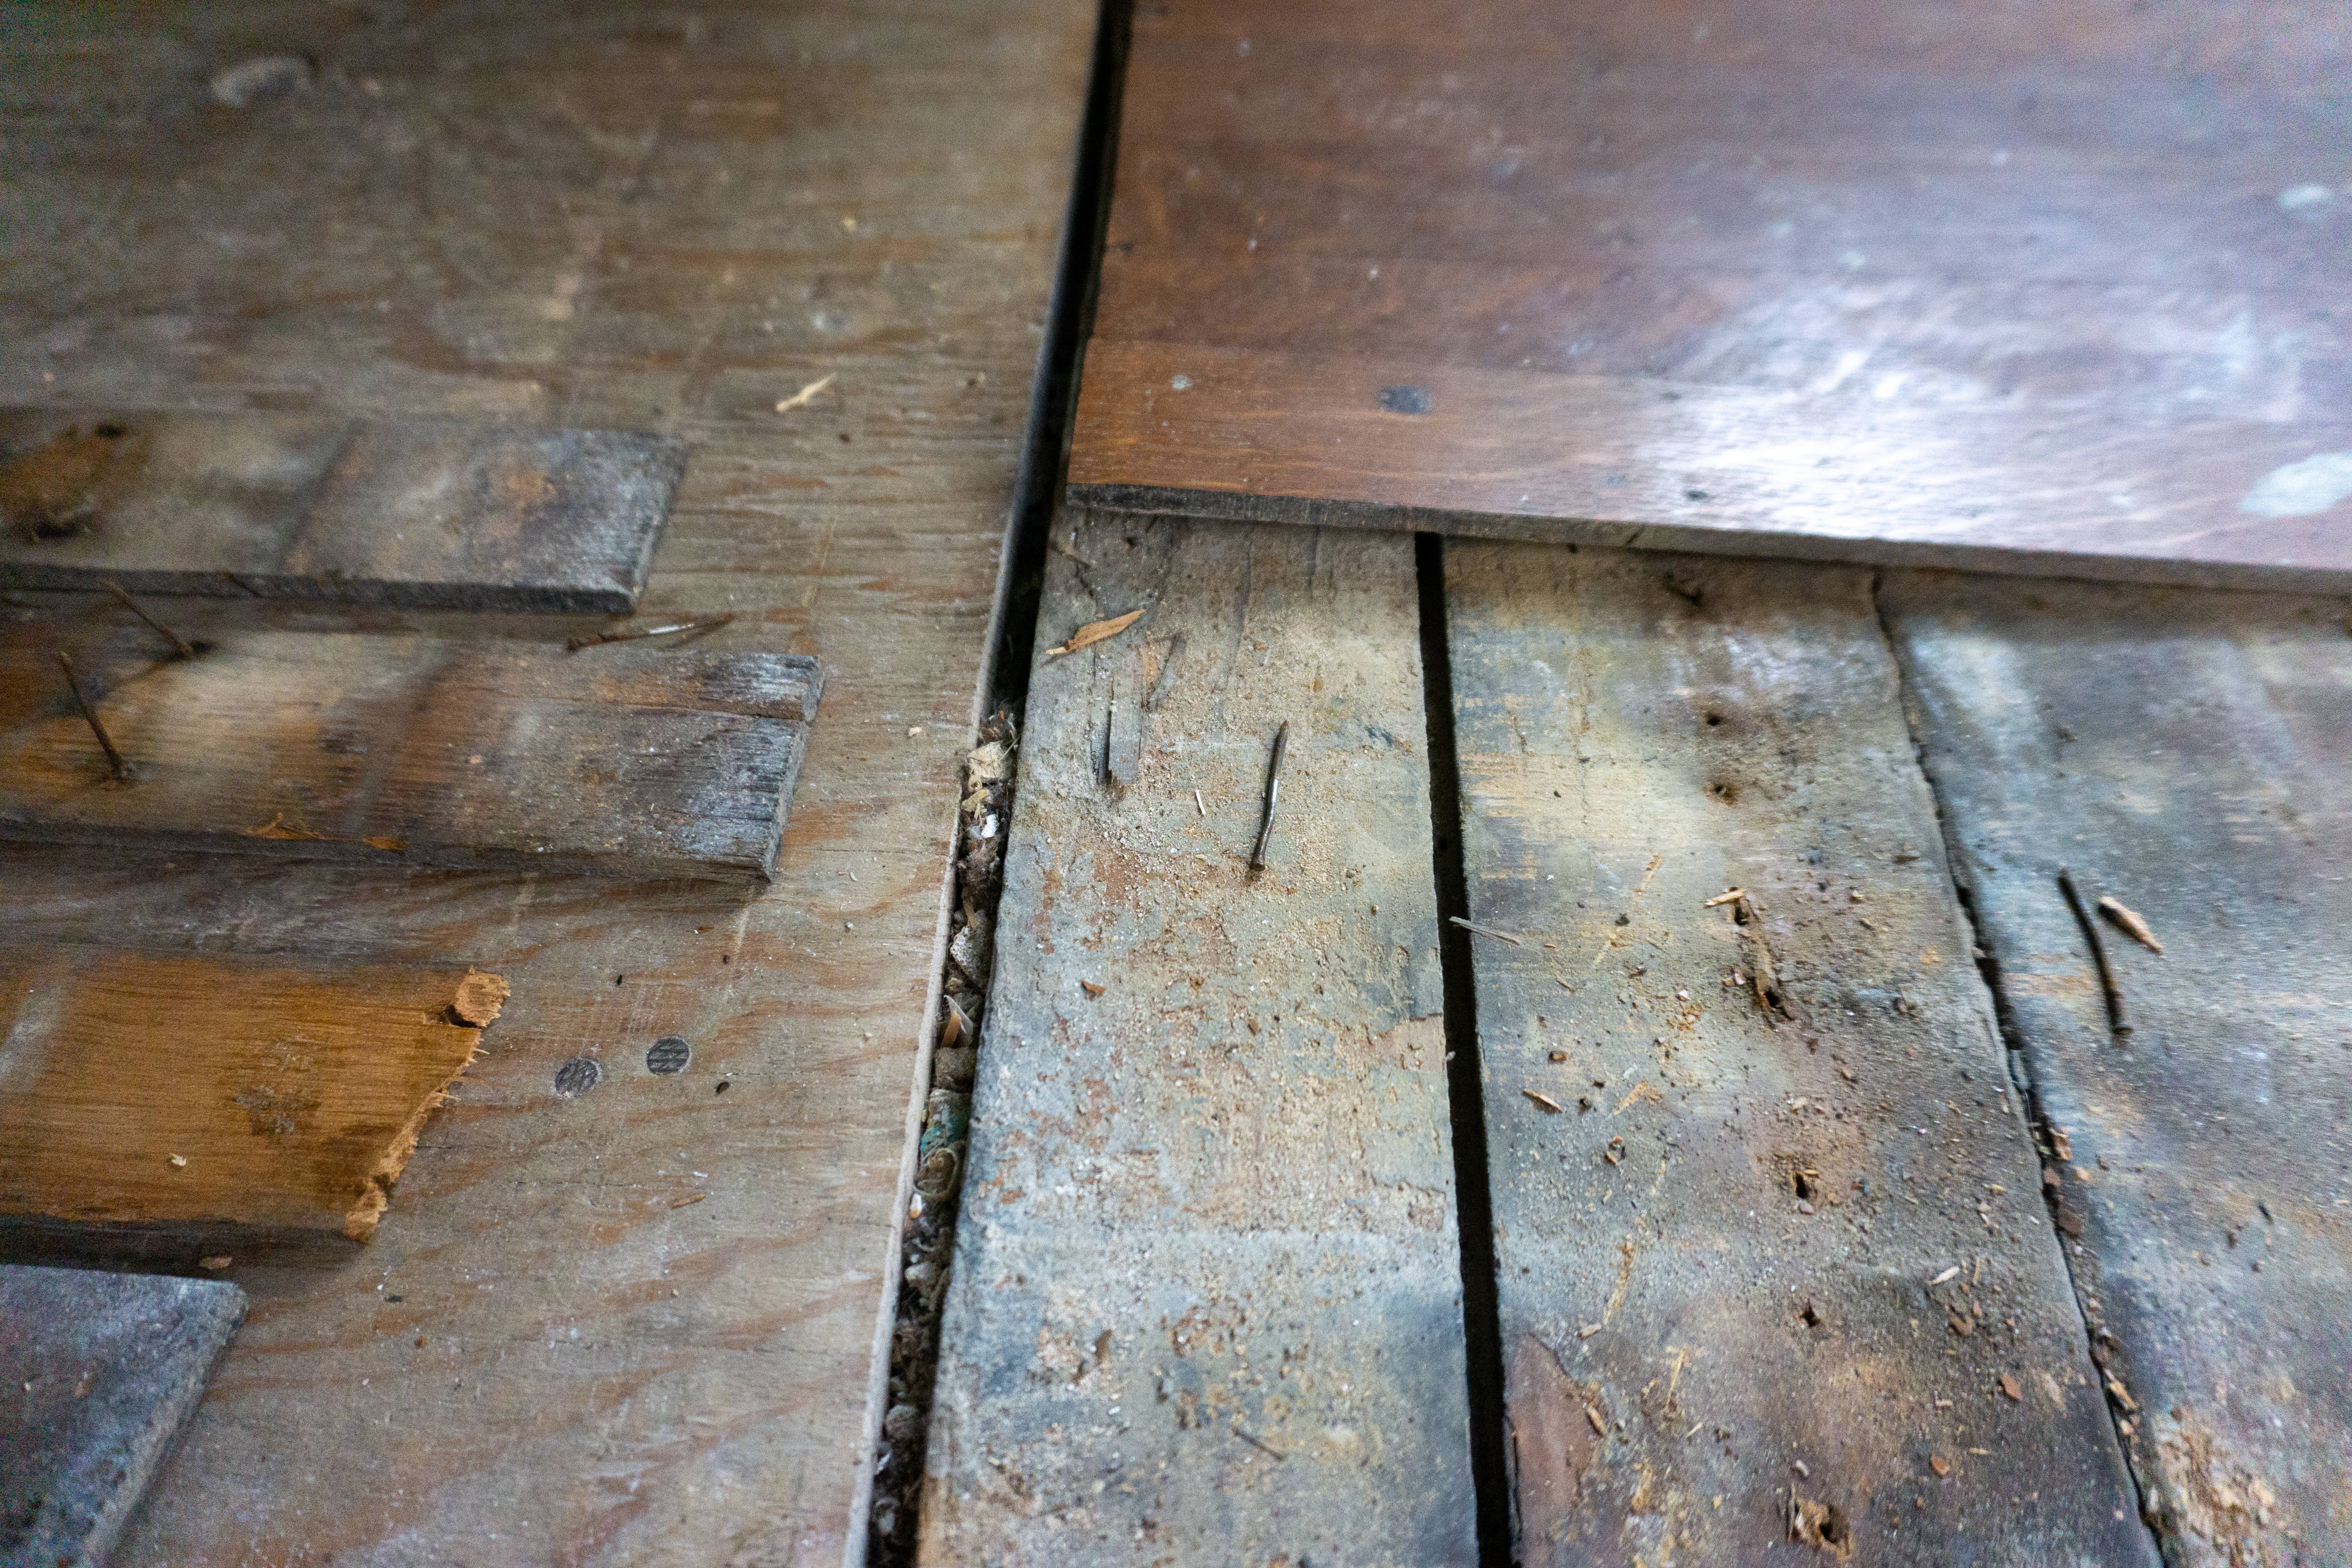
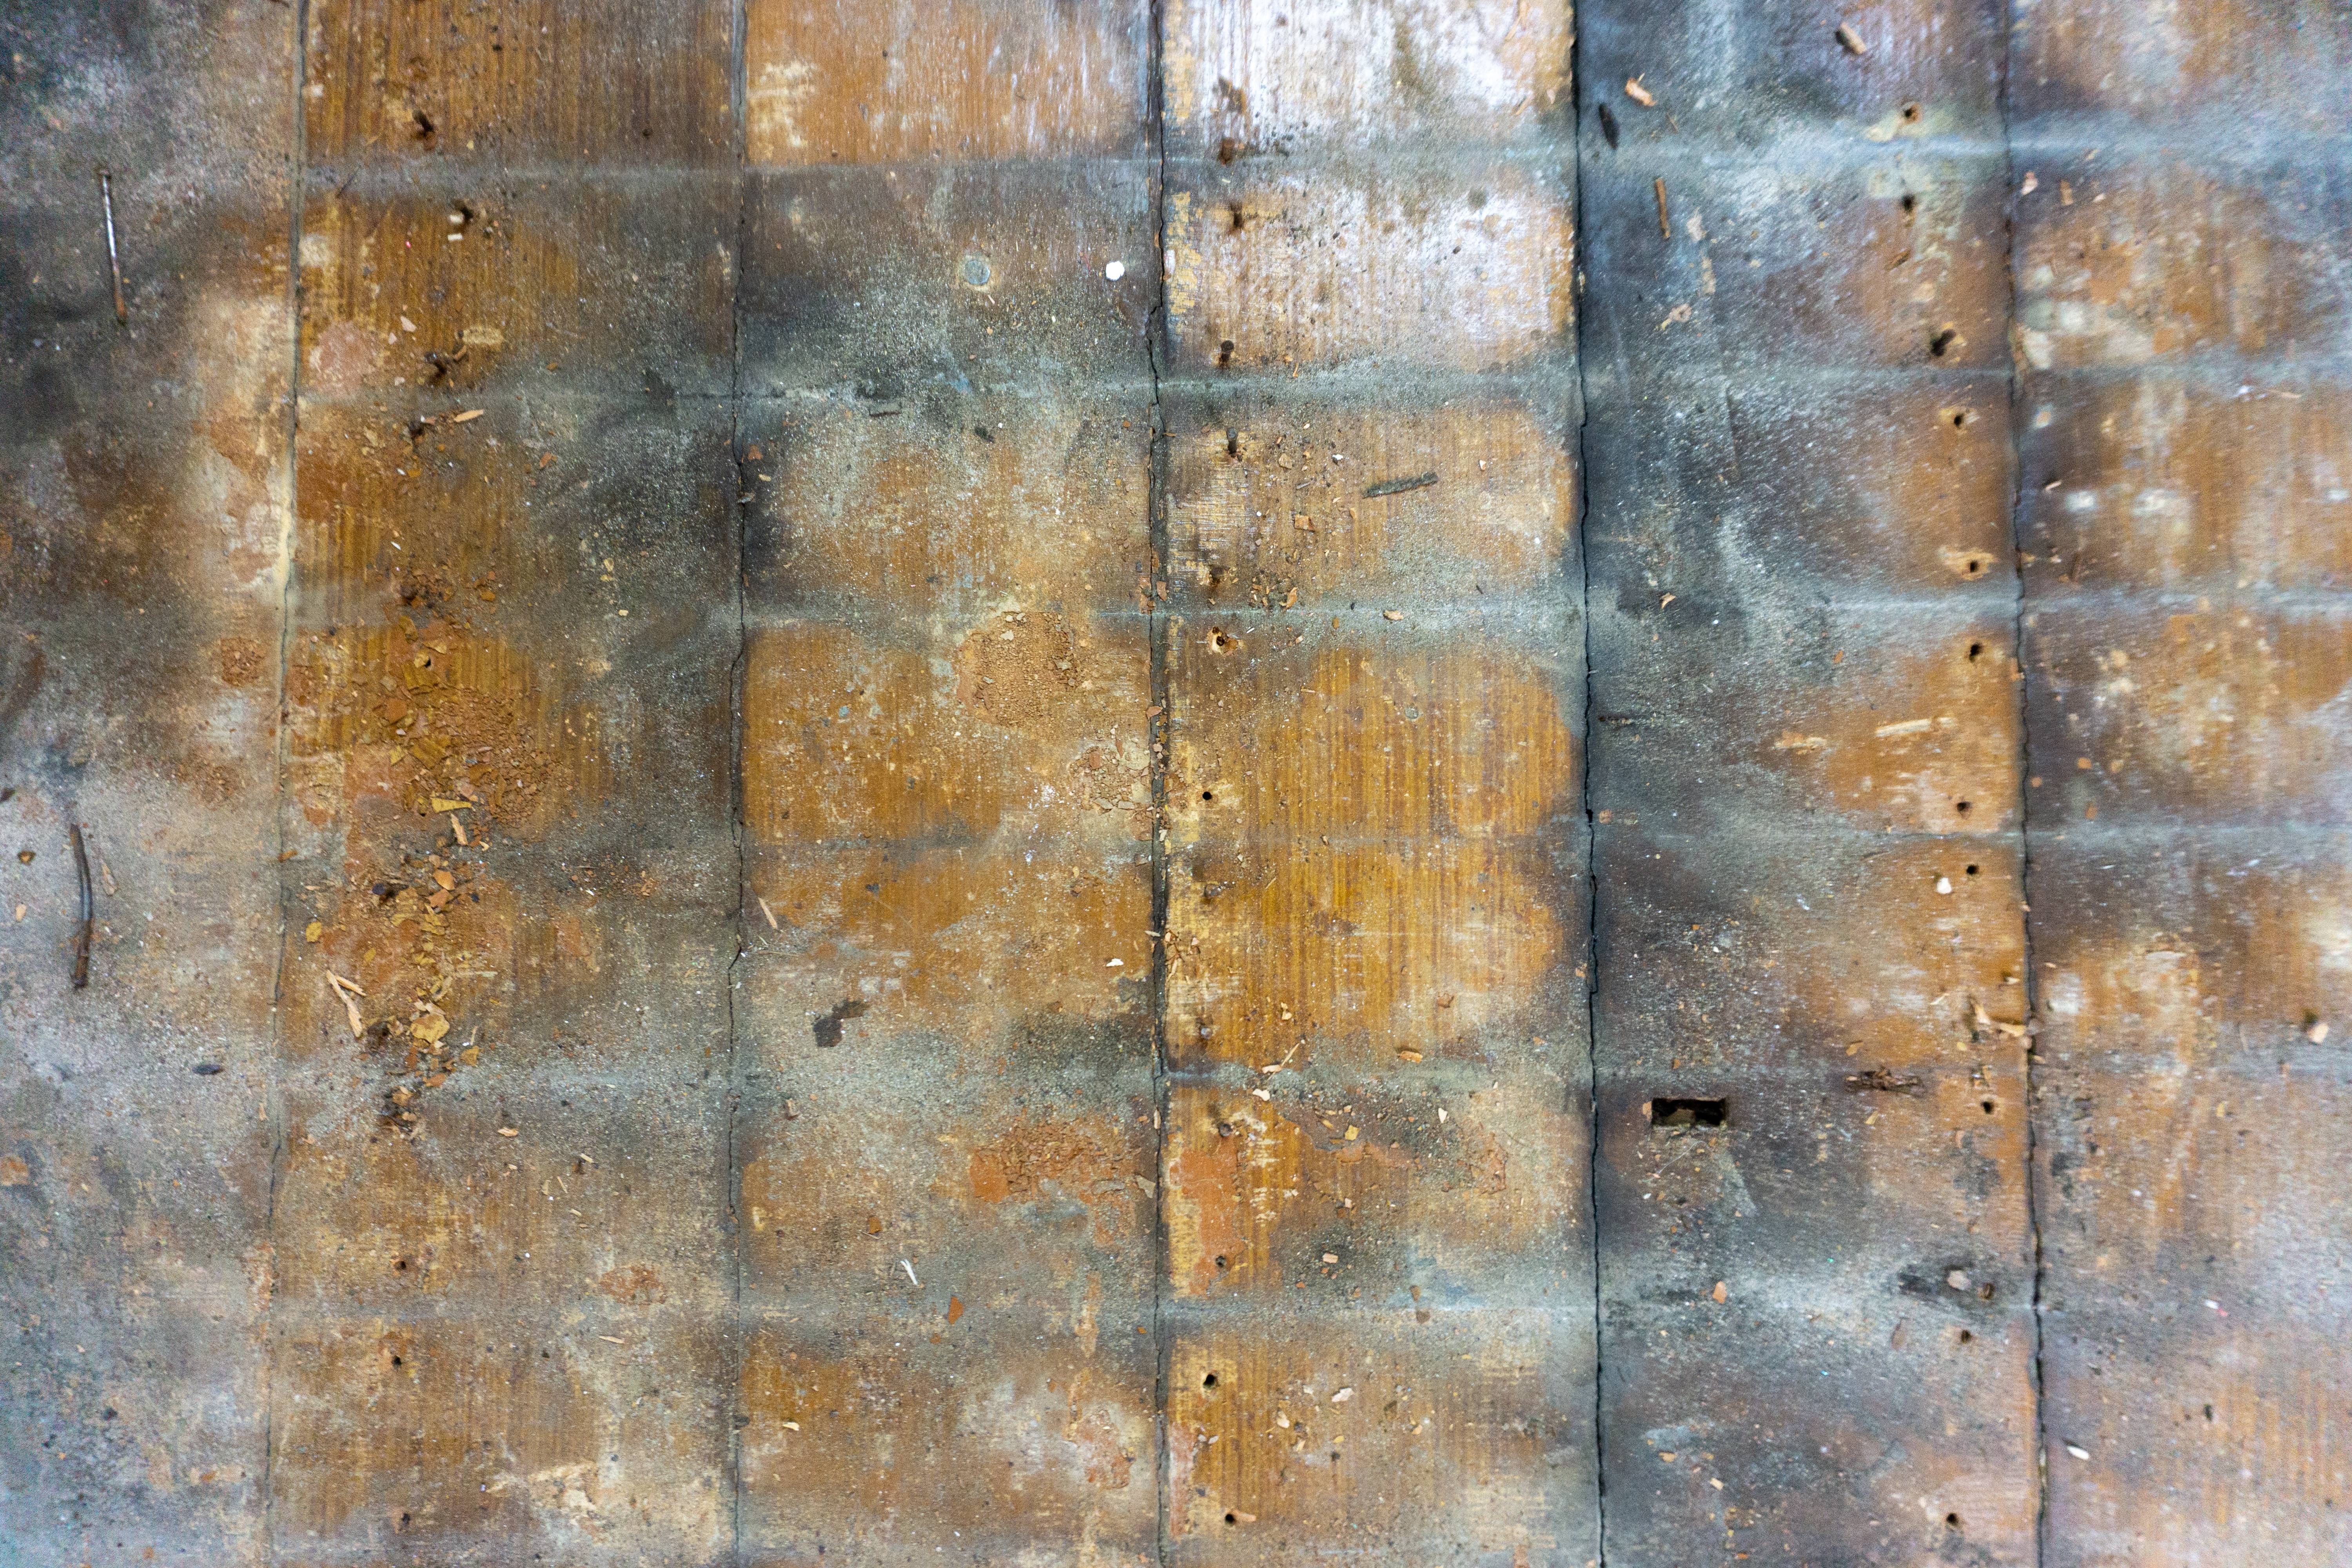
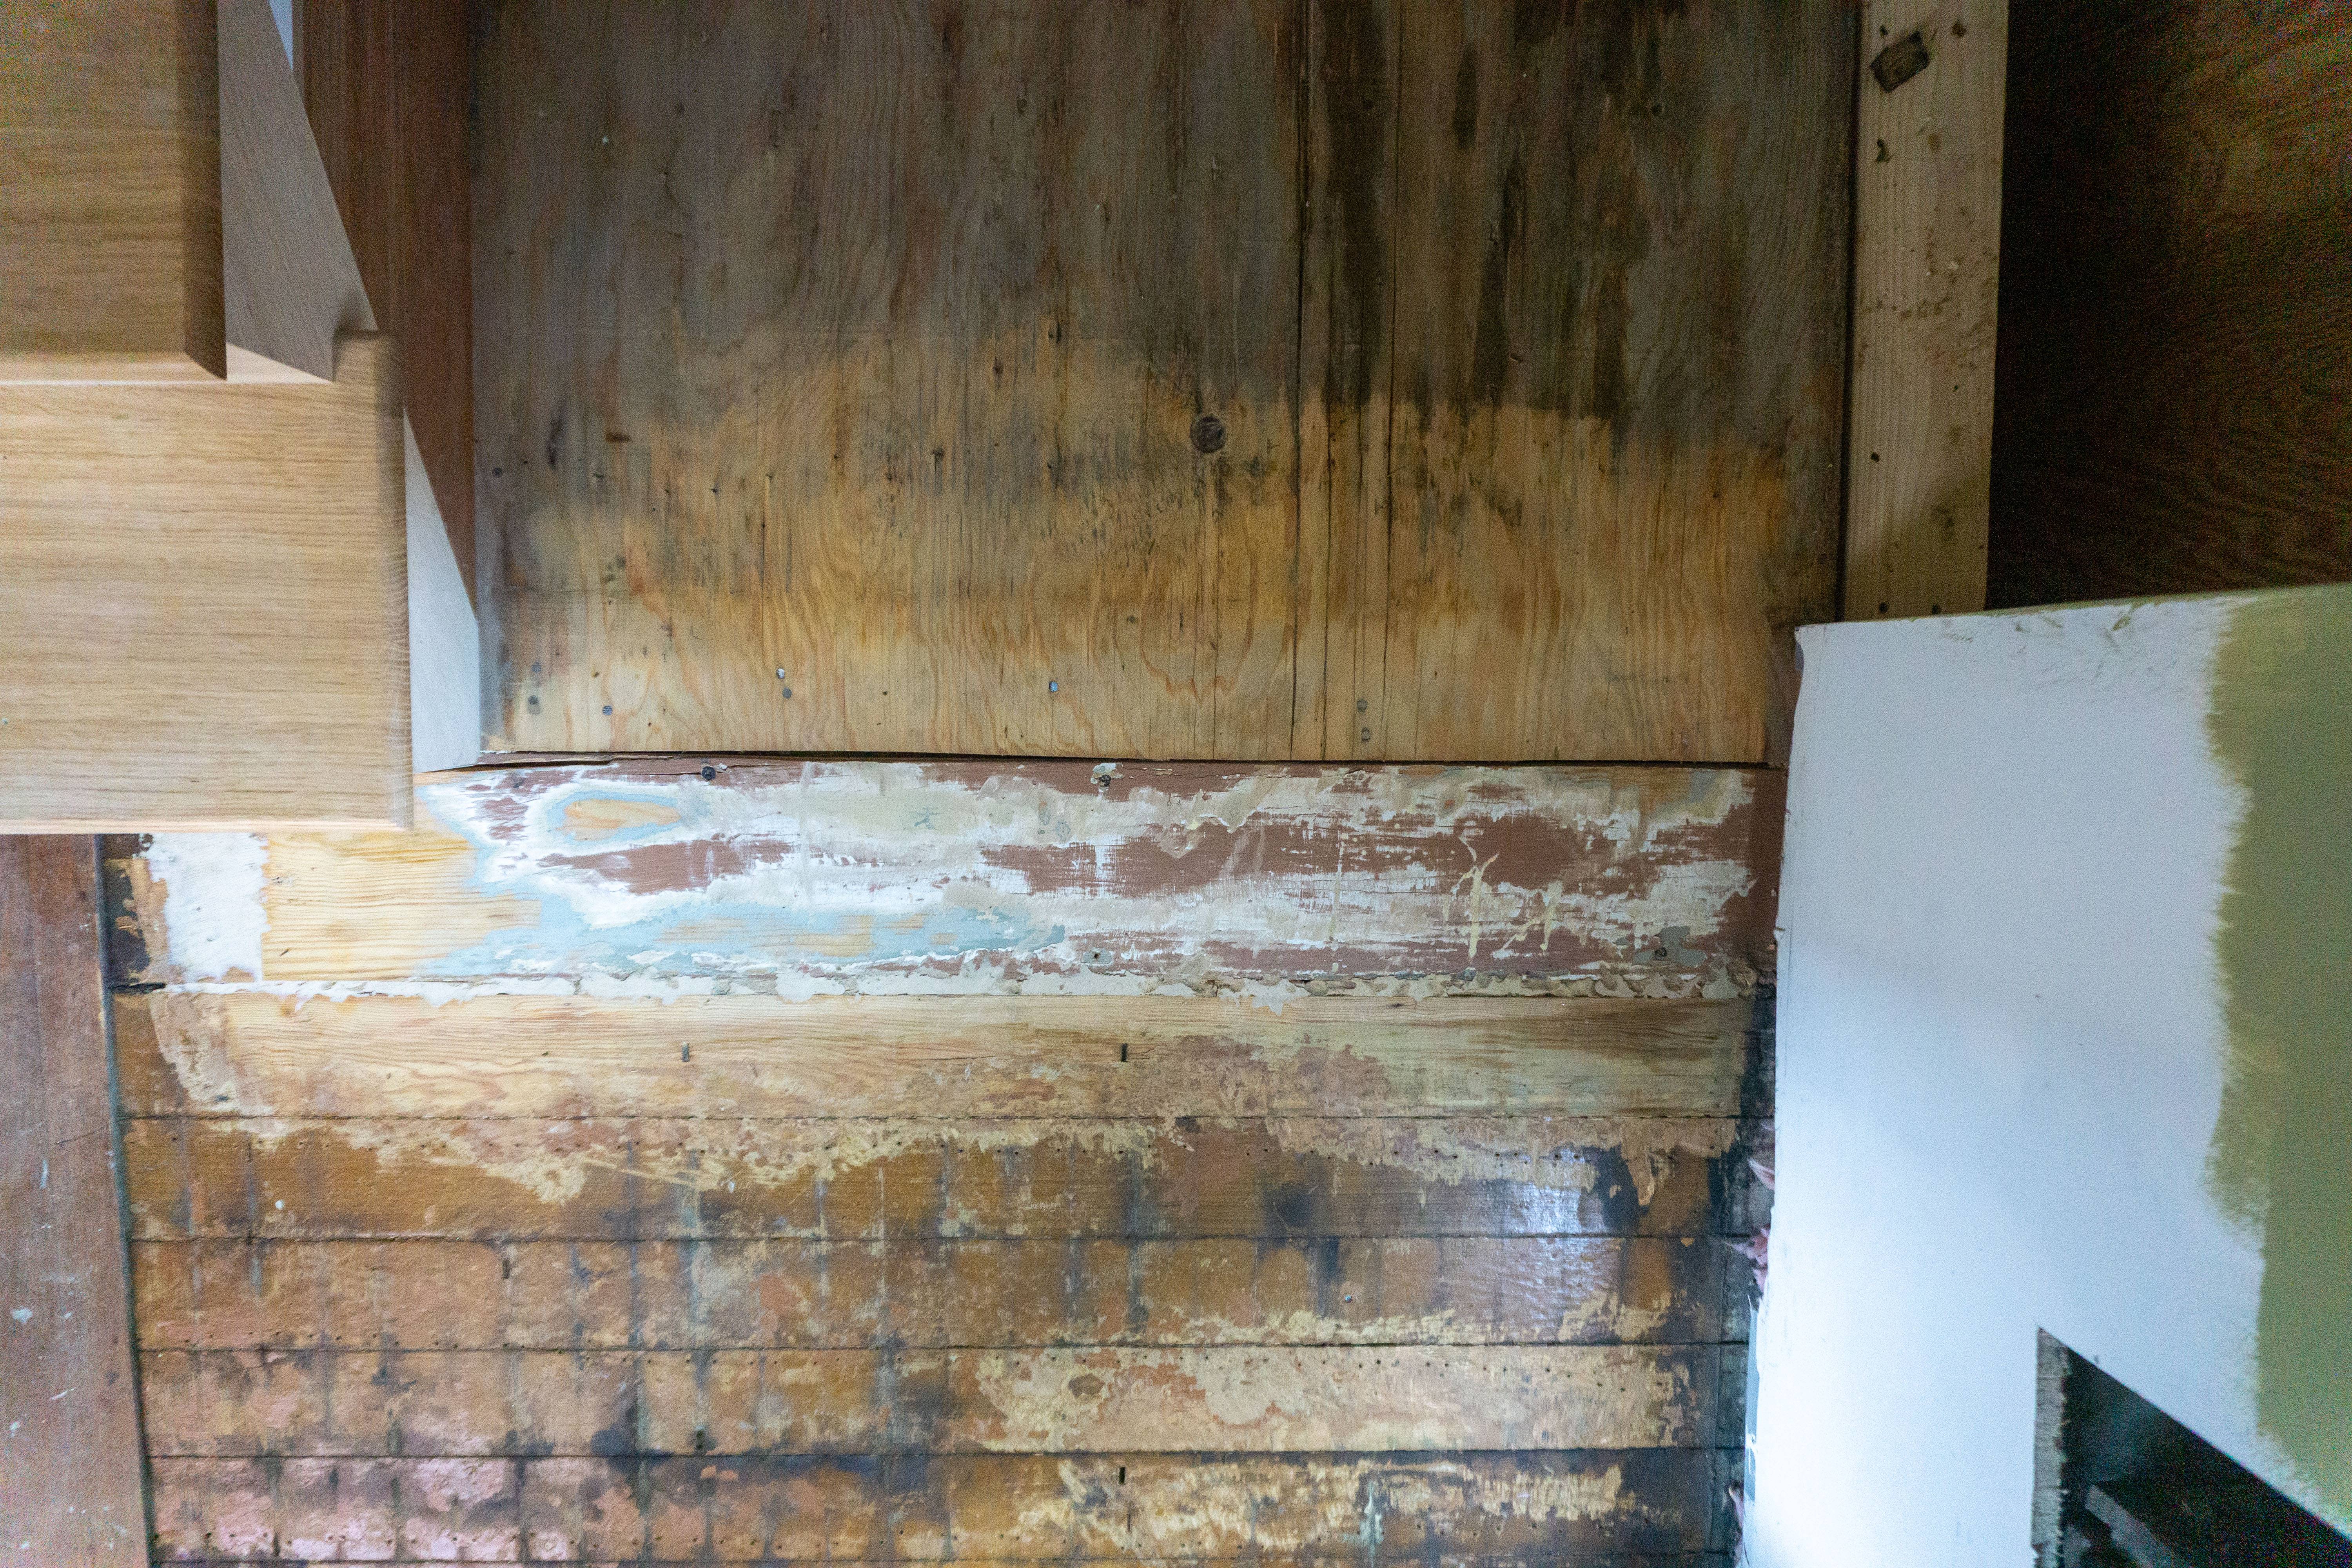
As expected, I found heart pine subfloor underneath. The two boards right at the edge—where the pop-out meets the house’s foundation—were loose and gappy due to 140 years of settling, but otherwise they looked beautiful. Fascinatingly, they appear to have been “grained” (the common Victorian practice of painting inexpensive wood to look like something different and usually costlier). If I’m right that the q/s boards went in around 1910, that means these pine floors were only lived on for about 20 years—30 at most. This graining is nicely done, but it was not seen by human eyes for very long. (The “wood grain” visible in this picture is not the heart pine; it’s the painted graining that is flaking off. Even weirder, below the delicate graining is an independent layer of solid brownish-orange paint. So this floor was almost certainly painted twice in its short stint as a finished surface.) Today people pay exorbitant amounts of money for salvaged heart pine flooring… the material that’s functioning as a subfloor throughout this home, considered cheap and rough when it was installed.

Next I need to unify the gappy seam and re-lay boards. More on that later.

New stairs, day 6

We did not continue any work on the pendant today because I have more work to do before the wall is ready to have an expensive piece of turned white oak permanently attached to it. Better not to rush that.

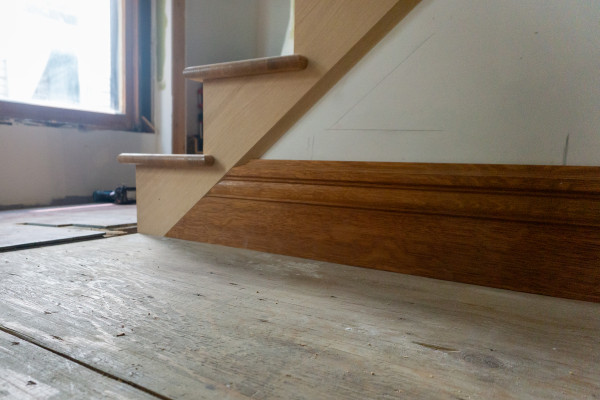
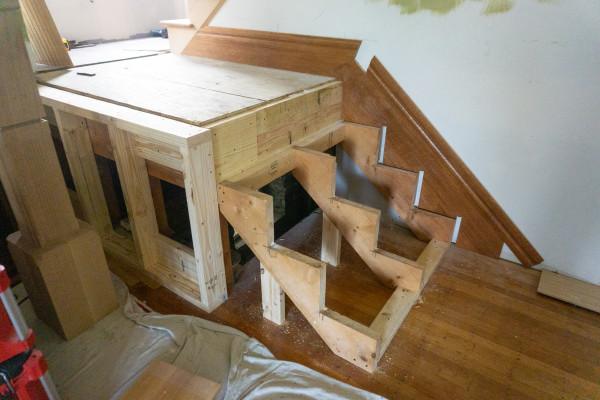
This project has already taken so many hours and although we’ve made some major progress, overall it feels painfully slow. Today Jordan installed stringers for the lower three steps that go up to the platform. He got the skirt board cut and installed, and then spent a long time perfecting the complicated miters for the many pieces of baseboard that follow the steps up to the platform and then intersect with the apron coming down. My newel and balustrade design requires the platform be a little wider, so he also framed out a small additional section of the platform today.

Jordan is doing some really fine work, but since he lives two hours away, he is not able to work terribly long before he has to go home, and with his other responsibilities, he will not be coming back here to continue work until next tuesday. In the mean time, I have drywall work to do, and I’m going to try and do some significant reworking of the hardwood flooring on the platform/landing.

New stairs, day 5

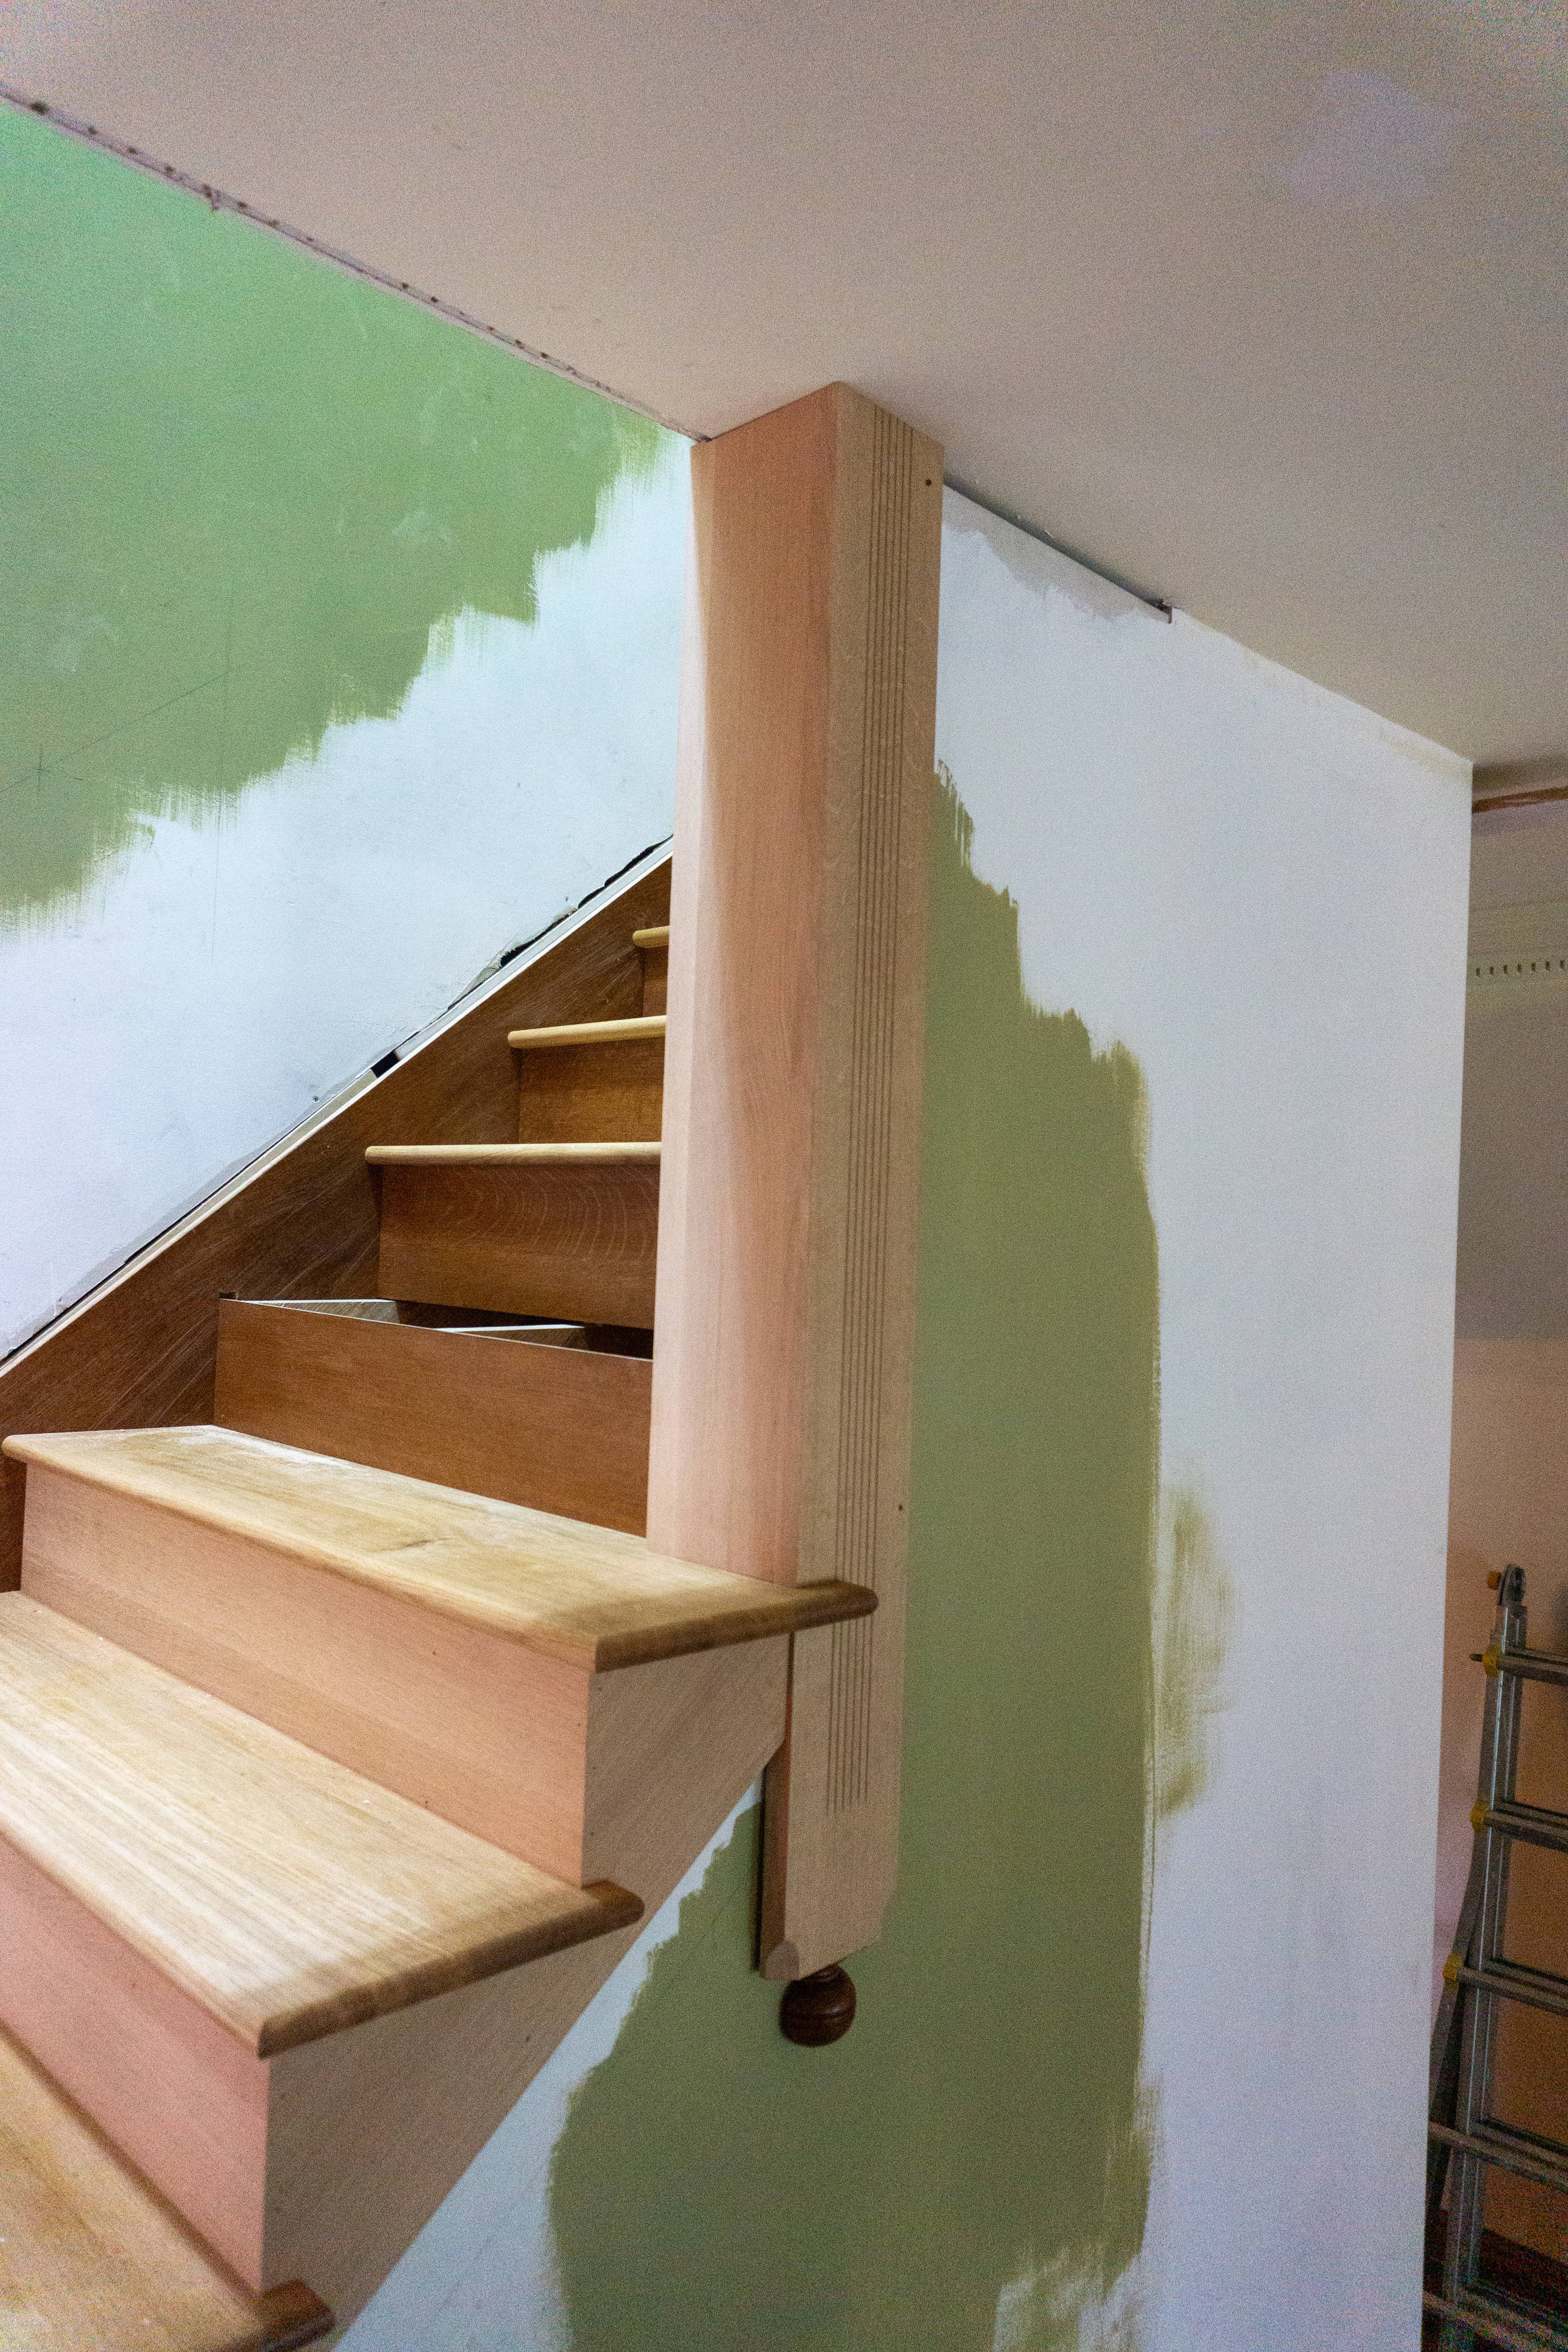
Jordan got a late start today and ended up spending nearly five hours on just a few things: marking out the final position of the lower steps, calculating spindle spacing, and assembling and fitting the pendant. (I prefinished the turnings on the ends, since I knew they’d be a nightmare to finish in situ.)

The workday was over before we had time to completely finalize and permanently fasten the pendant, mainly due to the uneven wall surface on the upstairs side of the pendant. I spent a few hours after Jordan left gouging away drywall and filling to a smoother surface. Despite my best efforts, it will not be ready for him to complete this area tomorrow. Good thing there are literally hundreds of other things to work on.

New stairs, day 4

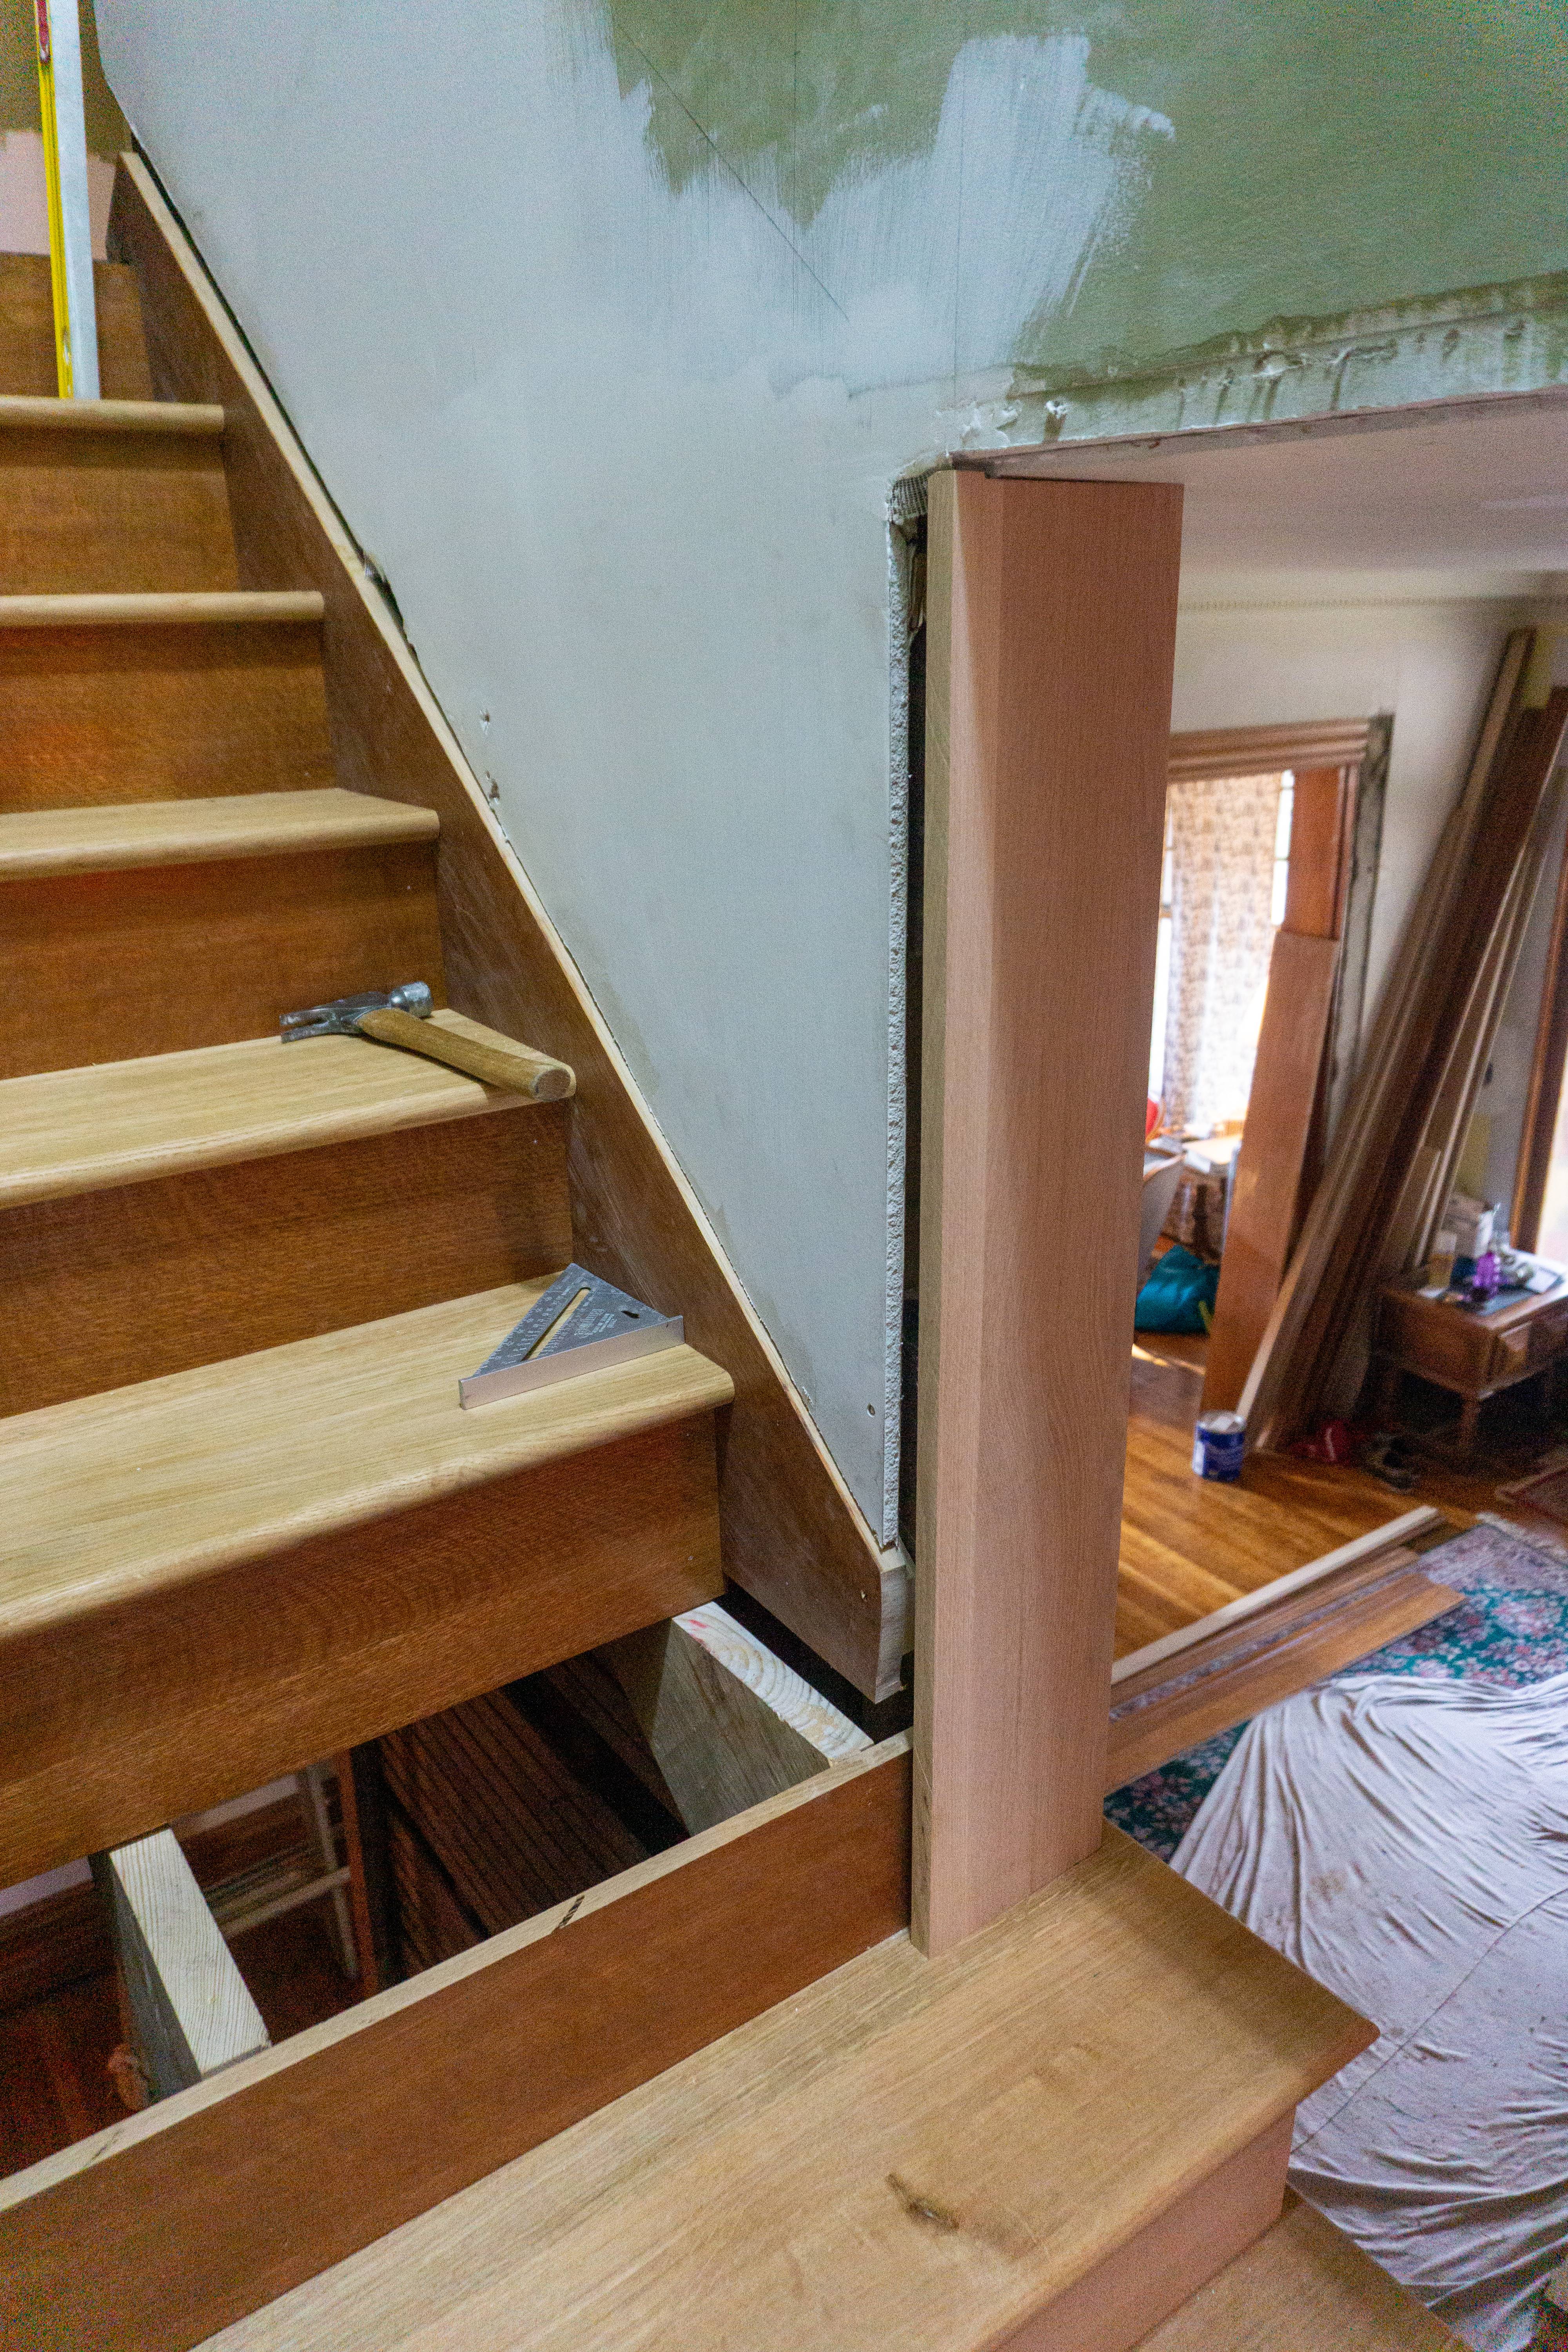
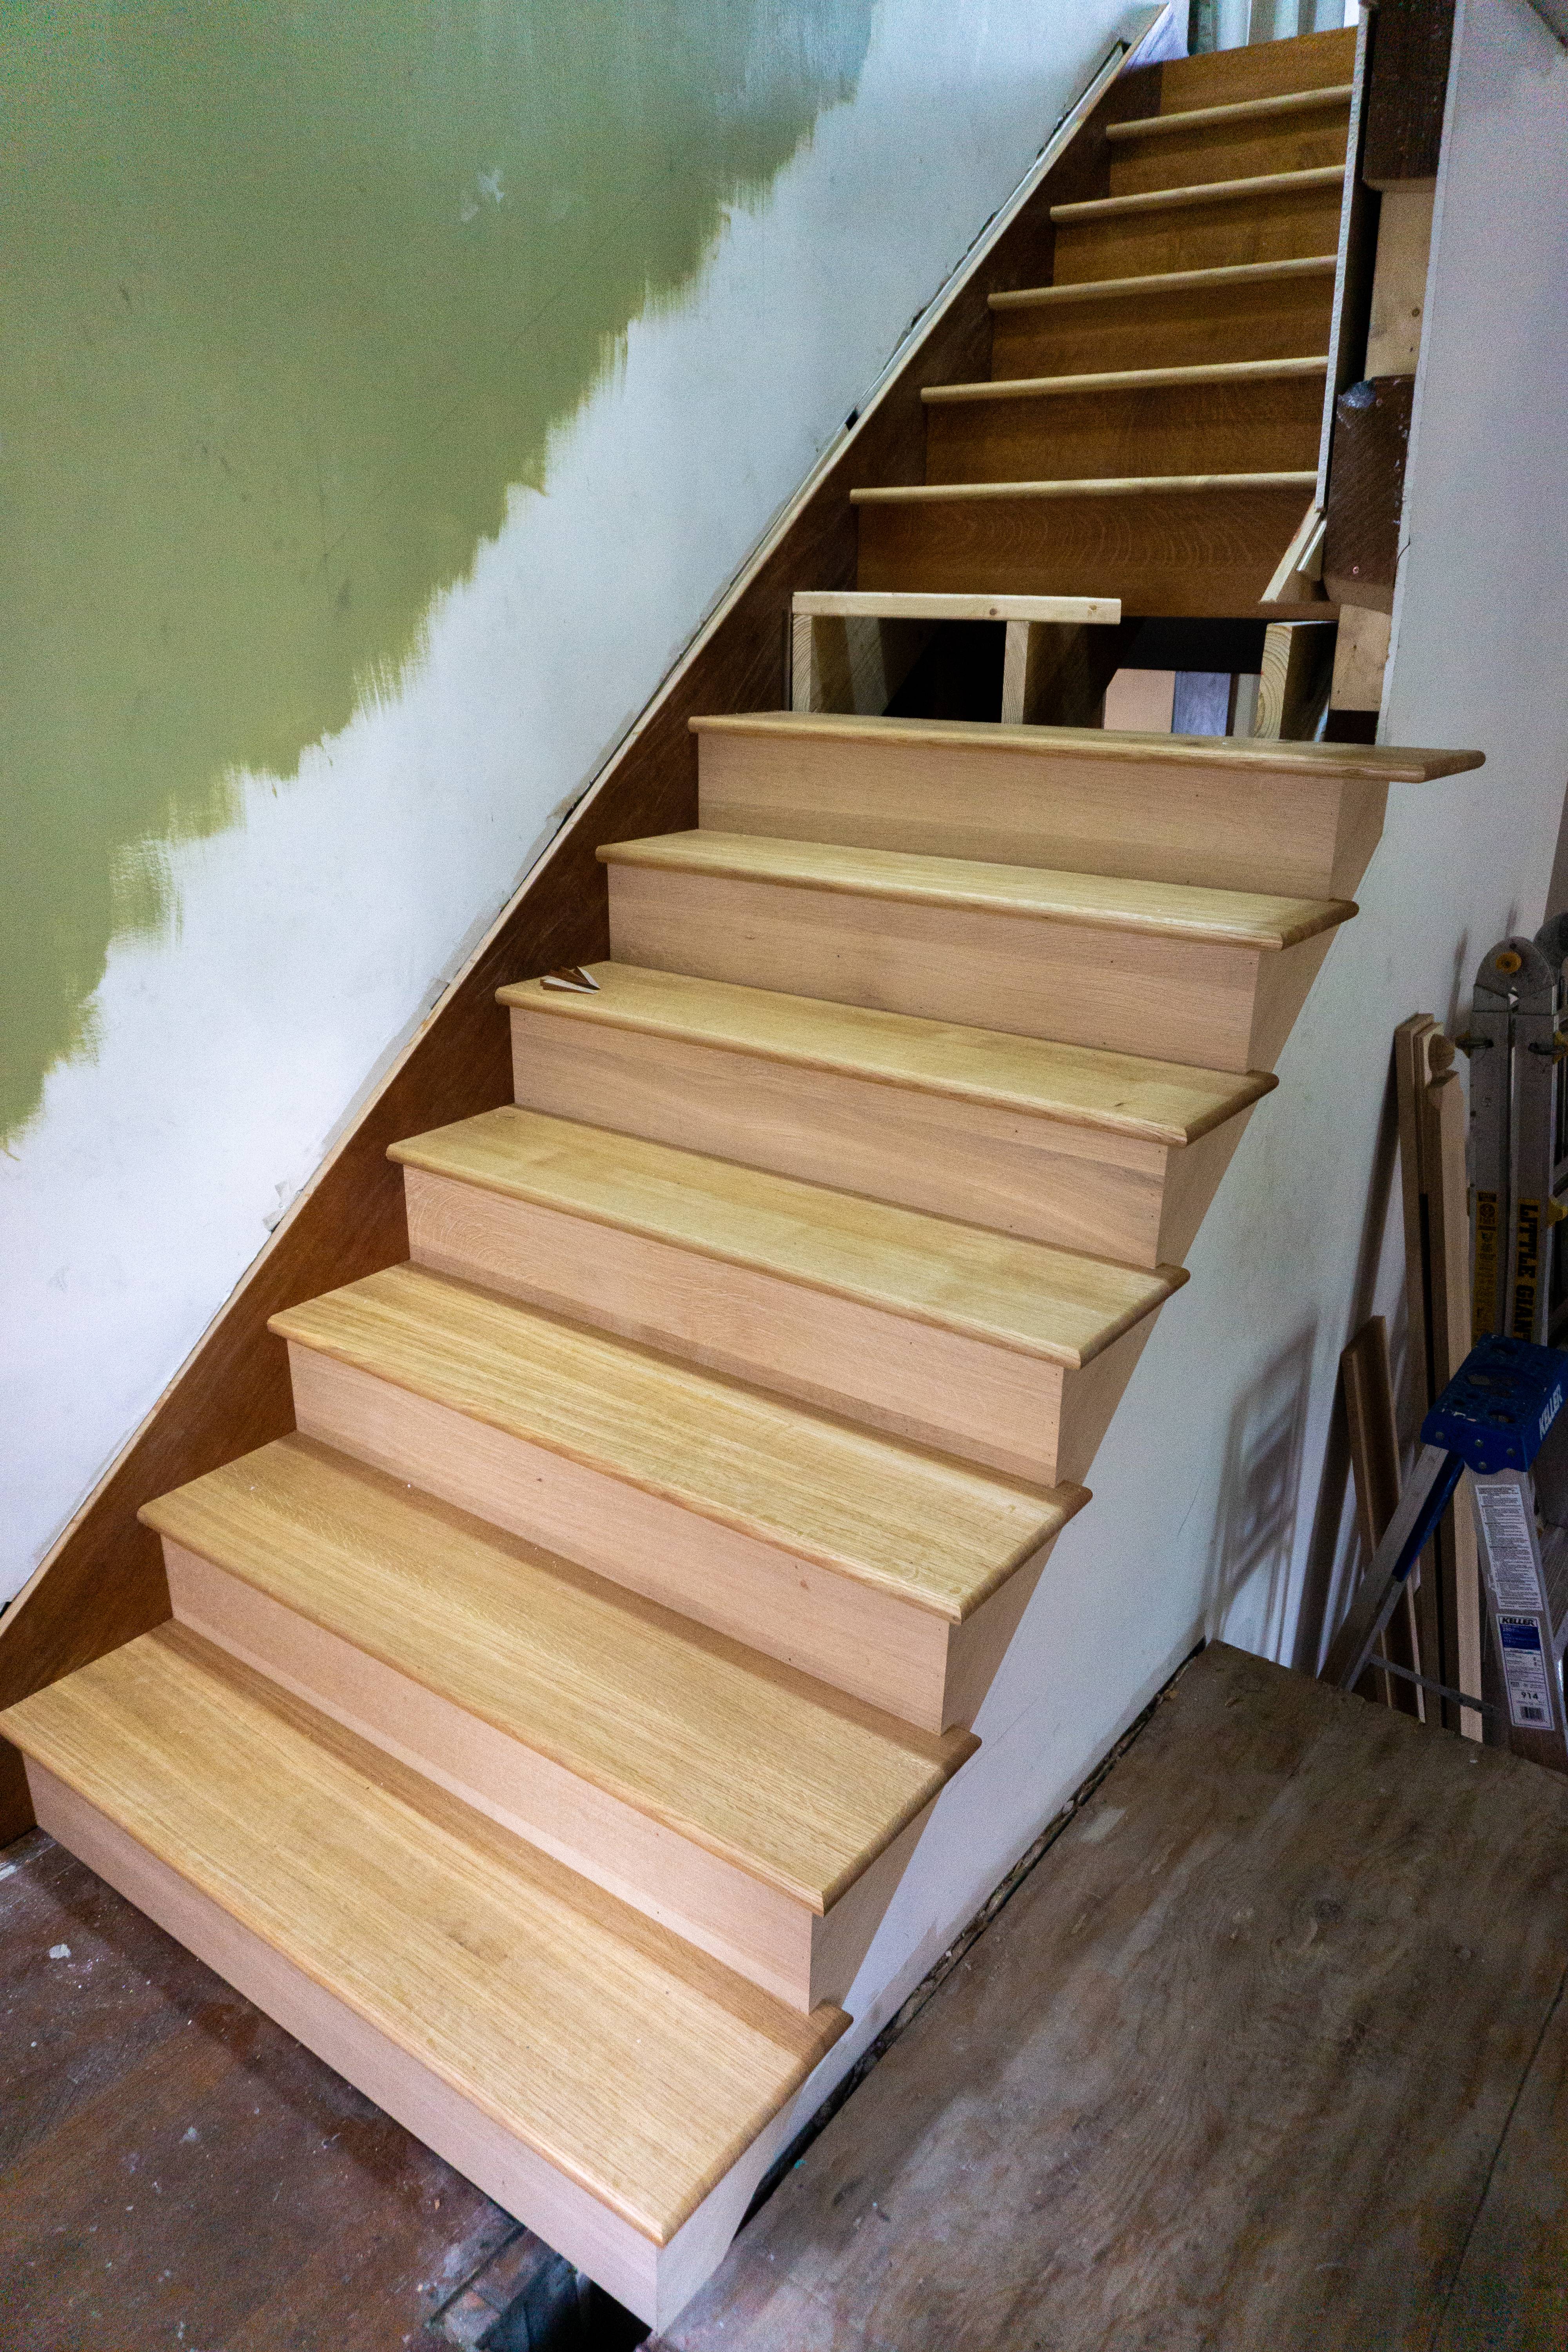
Today Jordan got almost all the treads and risers installed on the long main run of stairs, which also involved delicately fitting one more skirt board into a wonky wall. About halfway up the main run, the steps transition from being open (wall on one side) to being closed (between walls). I’m calling this area the “pendant”, although that’s not precisely the architecturally correct term. Anyway, the pendant involves some complex planning, so we didn’t finalize two treads right there. That’ll happen tomorrow.

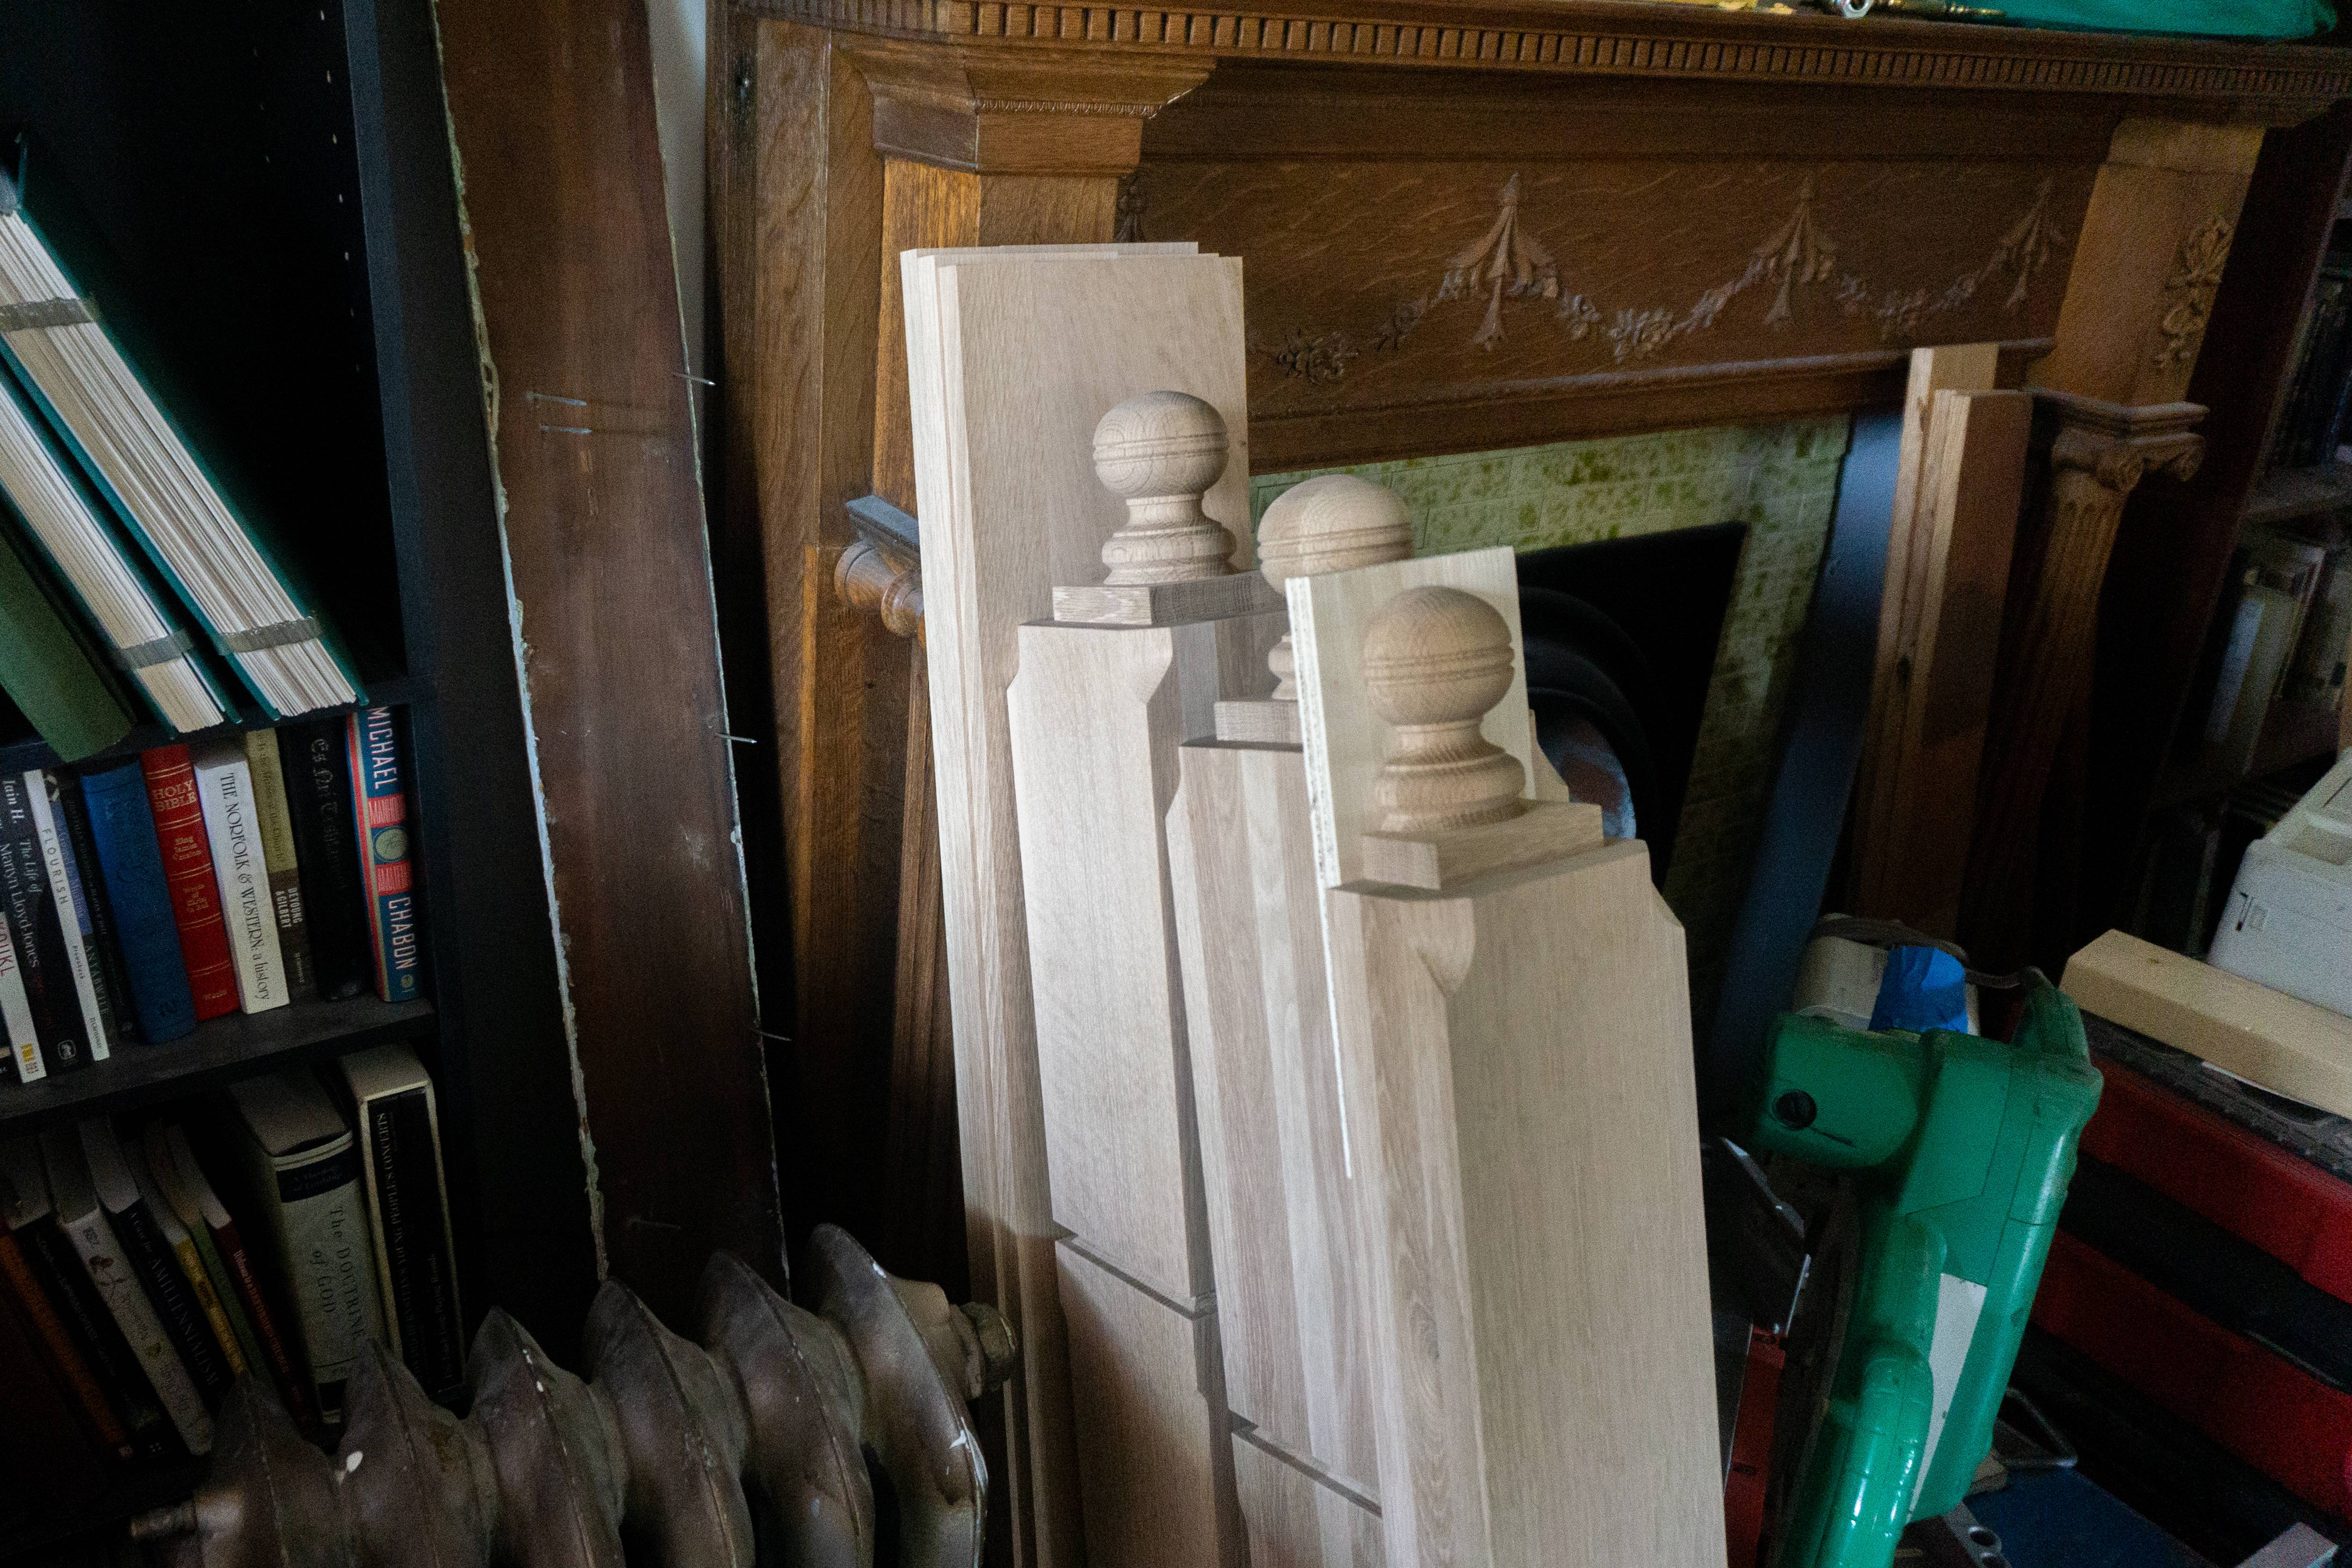
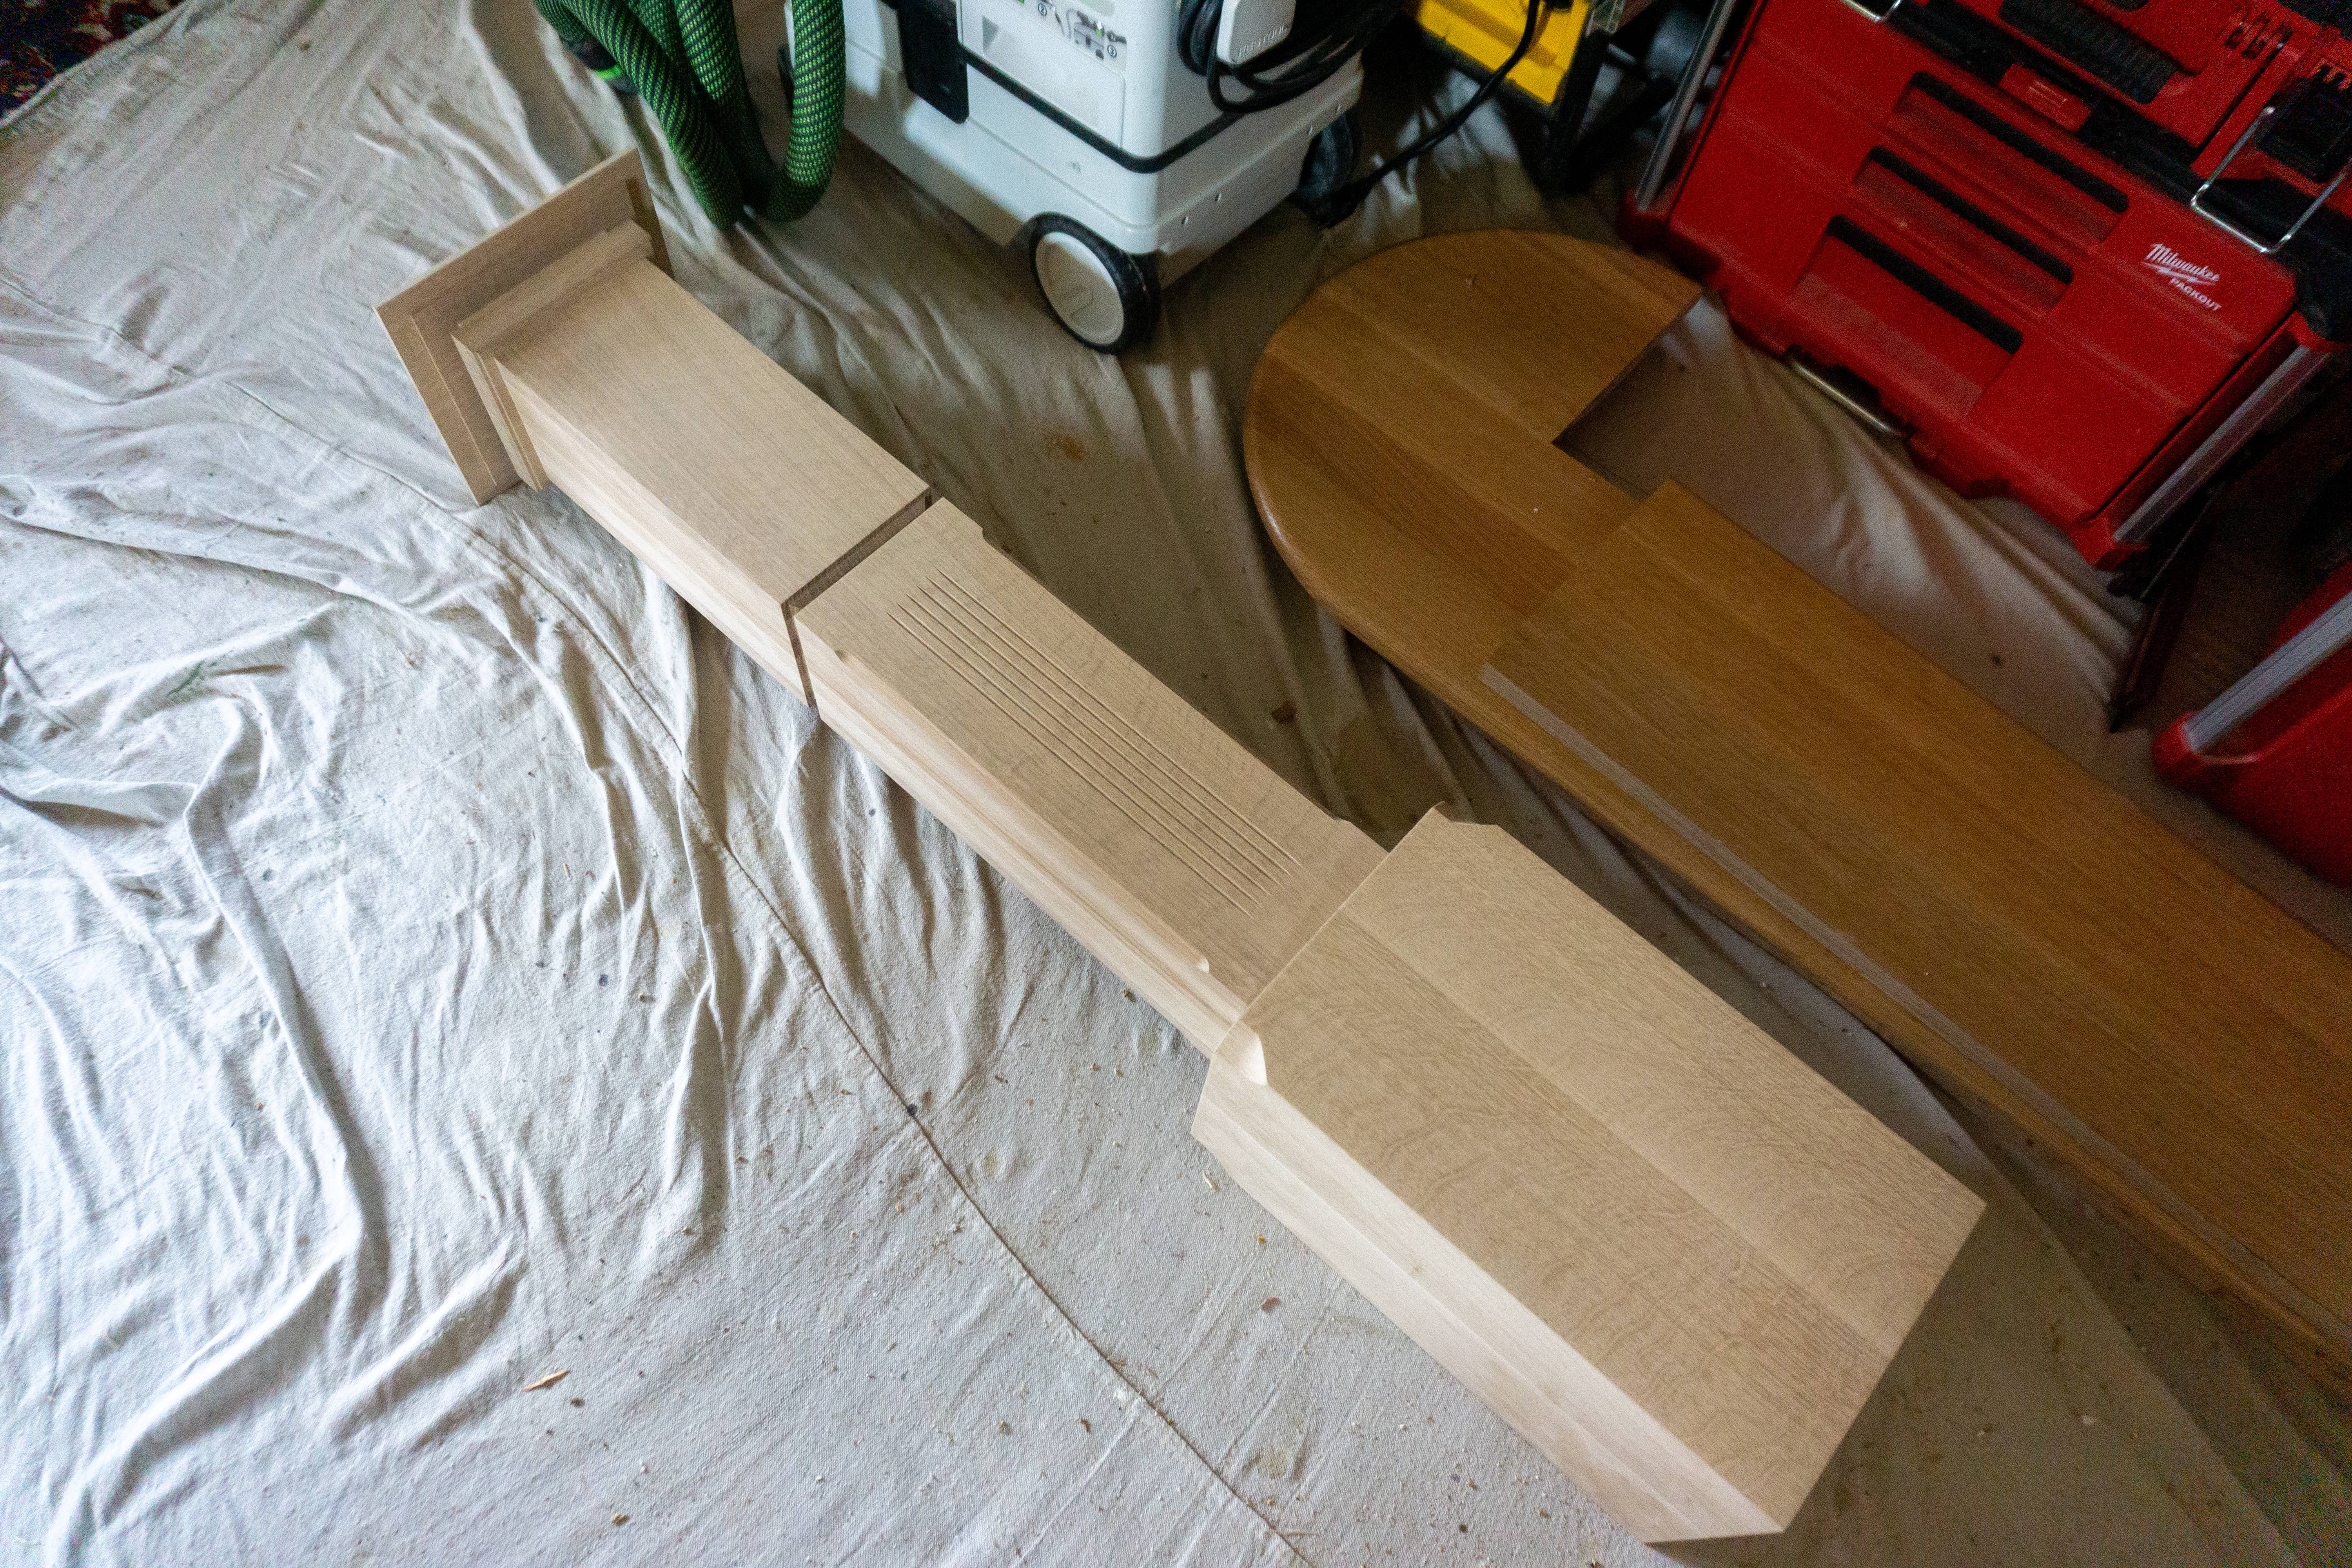
As expected, we also received delivery of the newel posts:

  • One large primary newel with a flat top, which will have a light fixture on top
  • Two secondary newels with turned tops
  • One half-newel which will be applied to the wall on the platform
  • Two “pendant” boards with turned ends which will be used where the handrail dies into the wall and ceiling.

The newels look precisely like the Illustrator drawings I sent away for production. It’s really uncanny! They are also extremely solid. I’ve been planning to run electric through the center of the primary newel for a light fixture installed on the top, and since the design was completely square (no turnings), I naturally assumed they would be built hollow. But no; the maniacs up in Holmes county (and I mean that in the most complimentary way) built a solid 5.5” square block of quarter-sawn white oak and then carved out all the chamfers and surface decoration. It’s lovely, and incredibly sturdy, but unfortunately it means I’ll have to drill a hole myself through about 40 inches of white oak. Live and learn!